Decorative Coating Hub
 Polyaspartic 85
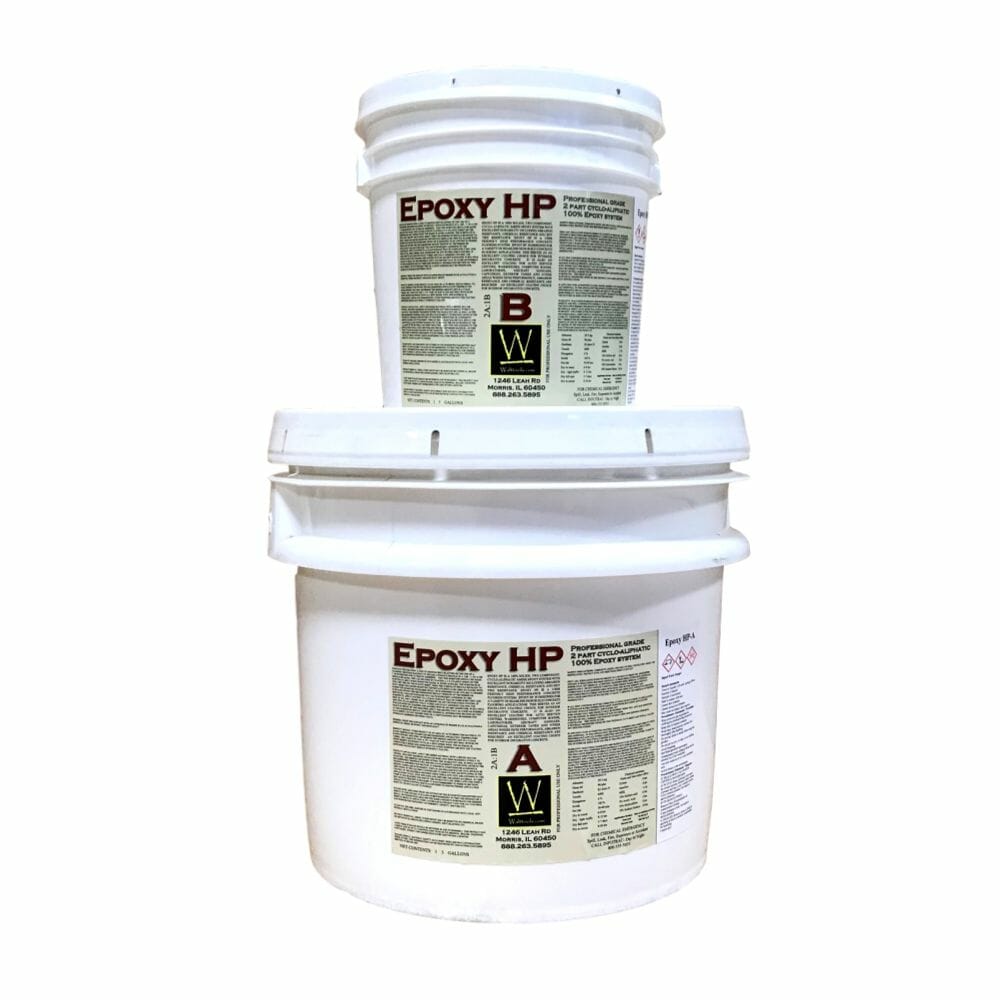 Epoxy HP
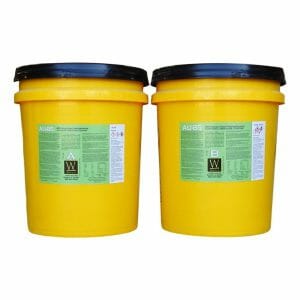 AU 85
AU 85
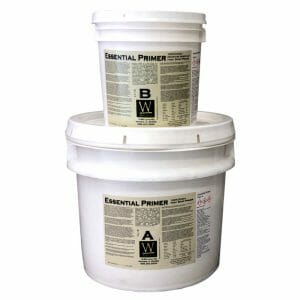 Essential Primer
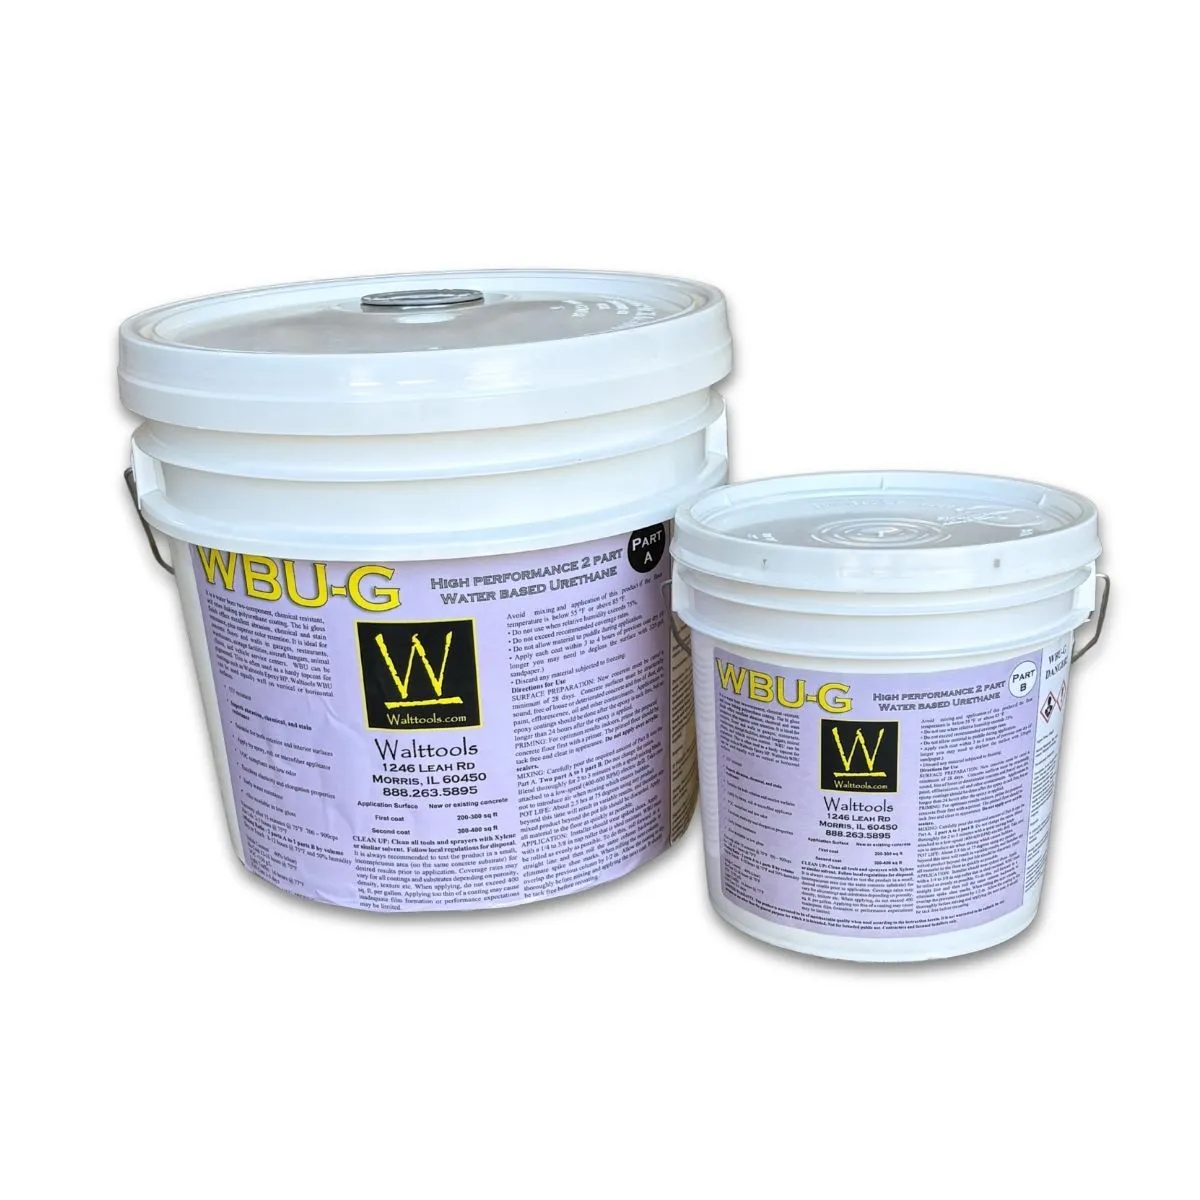 WBU G
WBU G
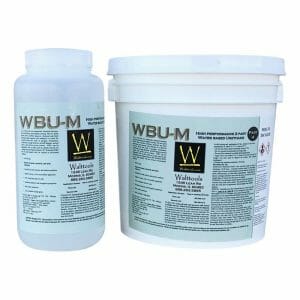 WBU M
WBU M
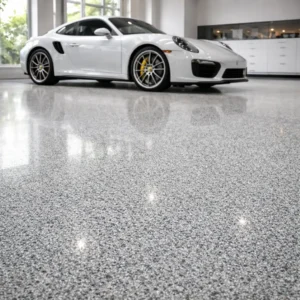
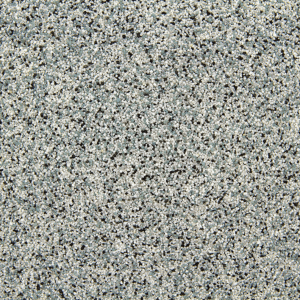 Decorative Quartz
 Vinyl Chips
 RZ Tint Pigments
 Metallic Pigments

Everything You Need to Know About Decorative Concrete Coatings
Decorative concrete coatings are some of the most durable, cost-effective, and visually appealing flooring options available — and it’s more accessible to install yourself than most people realize. Whether you’re a homeowner coating a garage floor over a weekend or a professional contractor running a high-volume installation business, this hub is built to give you every resource you need: product guidance, installation know-how, system comparisons, and the tools to get it right the first time.
Decorative concrete coatings are resin-based systems applied directly over prepared concrete to create a durable, attractive, and protective finished floor. Unlike paint — which sits on top of the concrete and eventually peels — properly installed resin coatings chemically bond to the concrete substrate, becoming part of the surface rather than a layer on top of it.
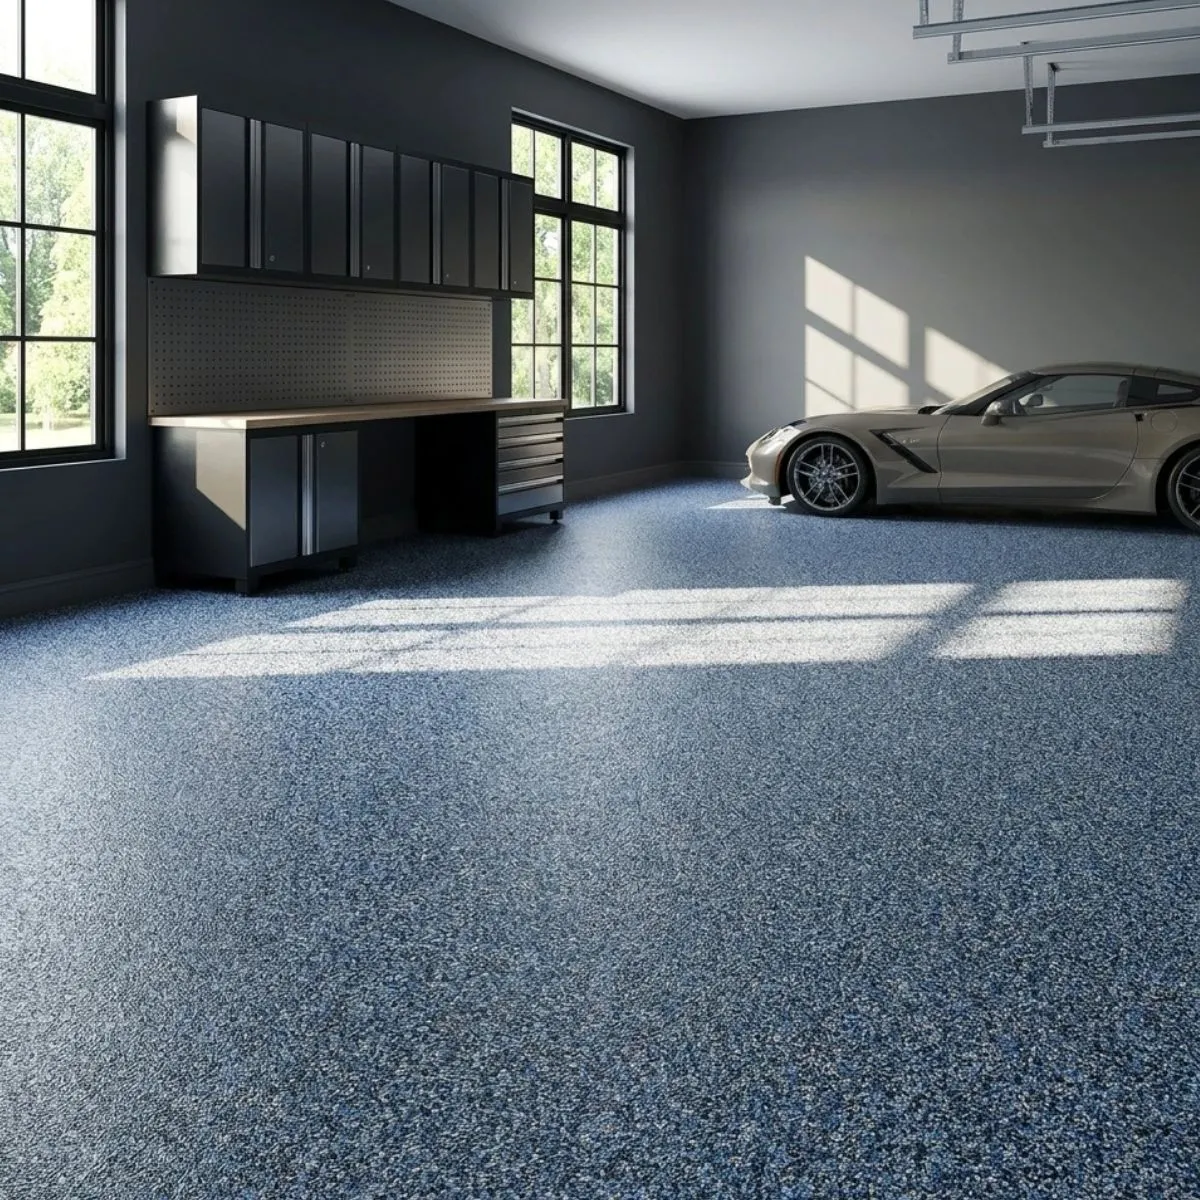
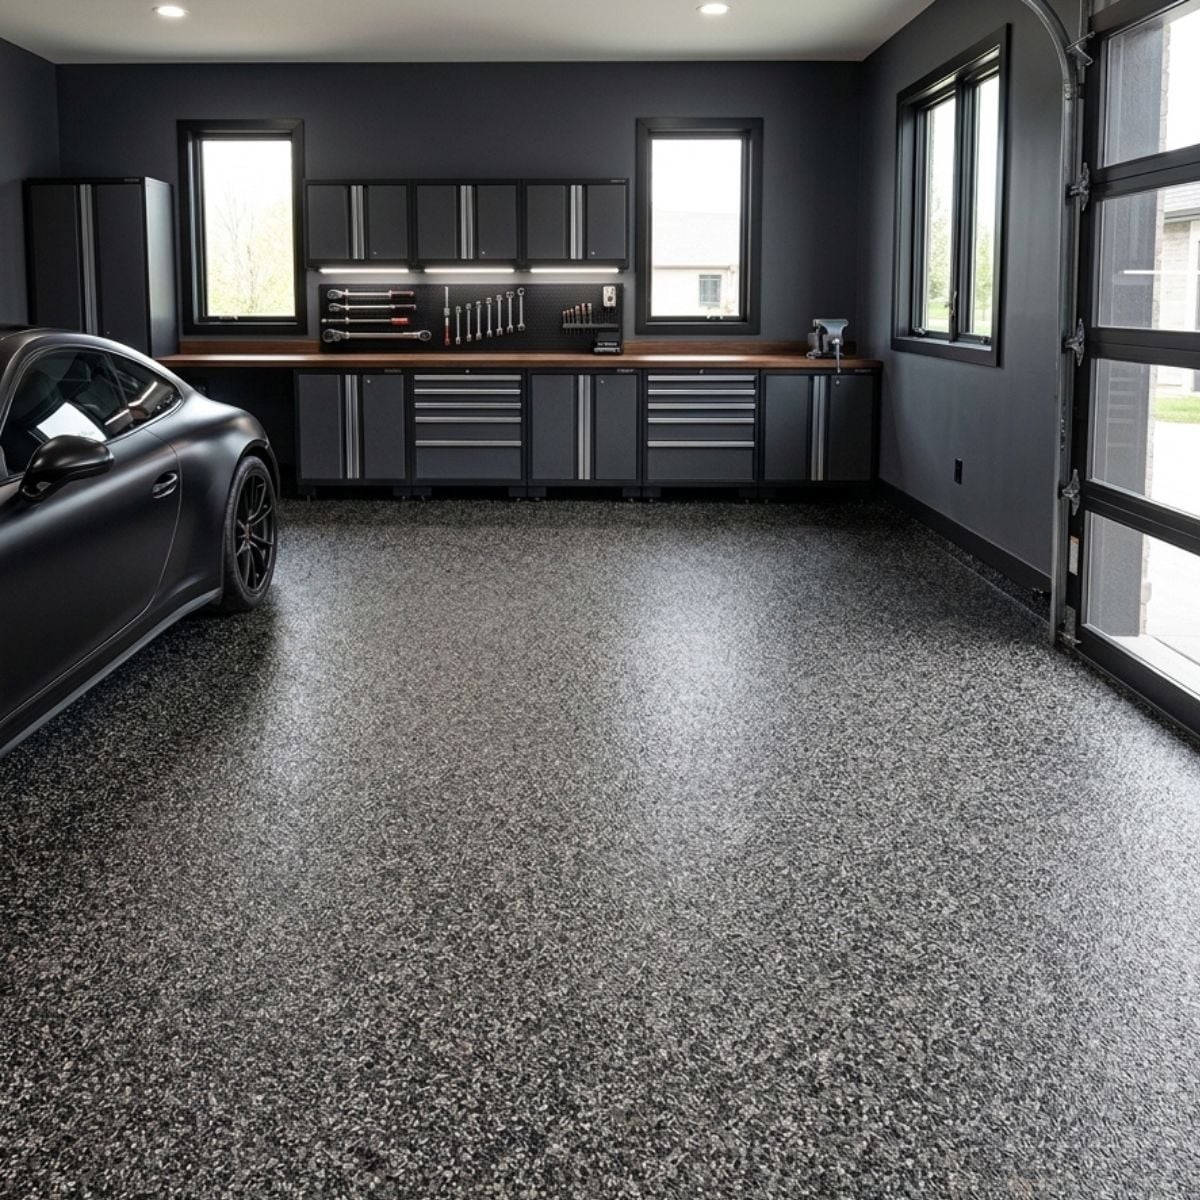
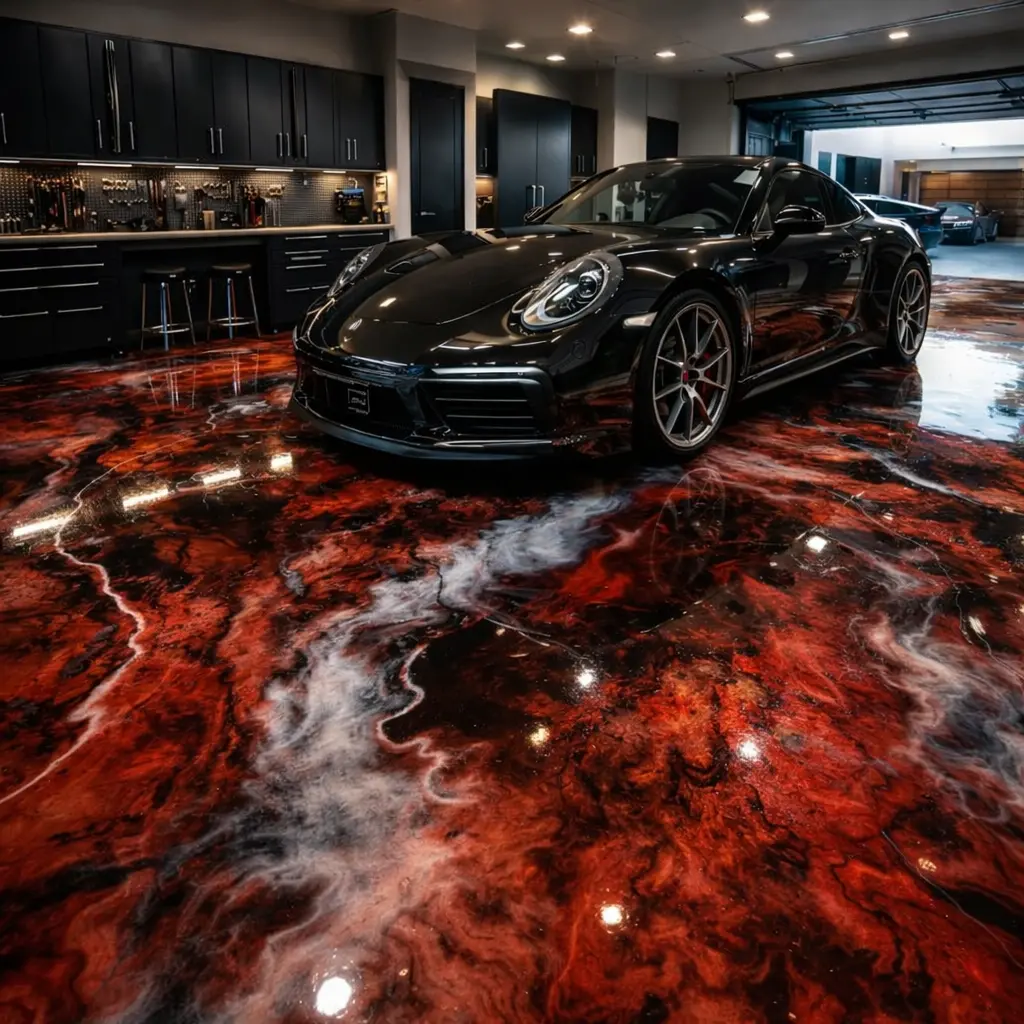
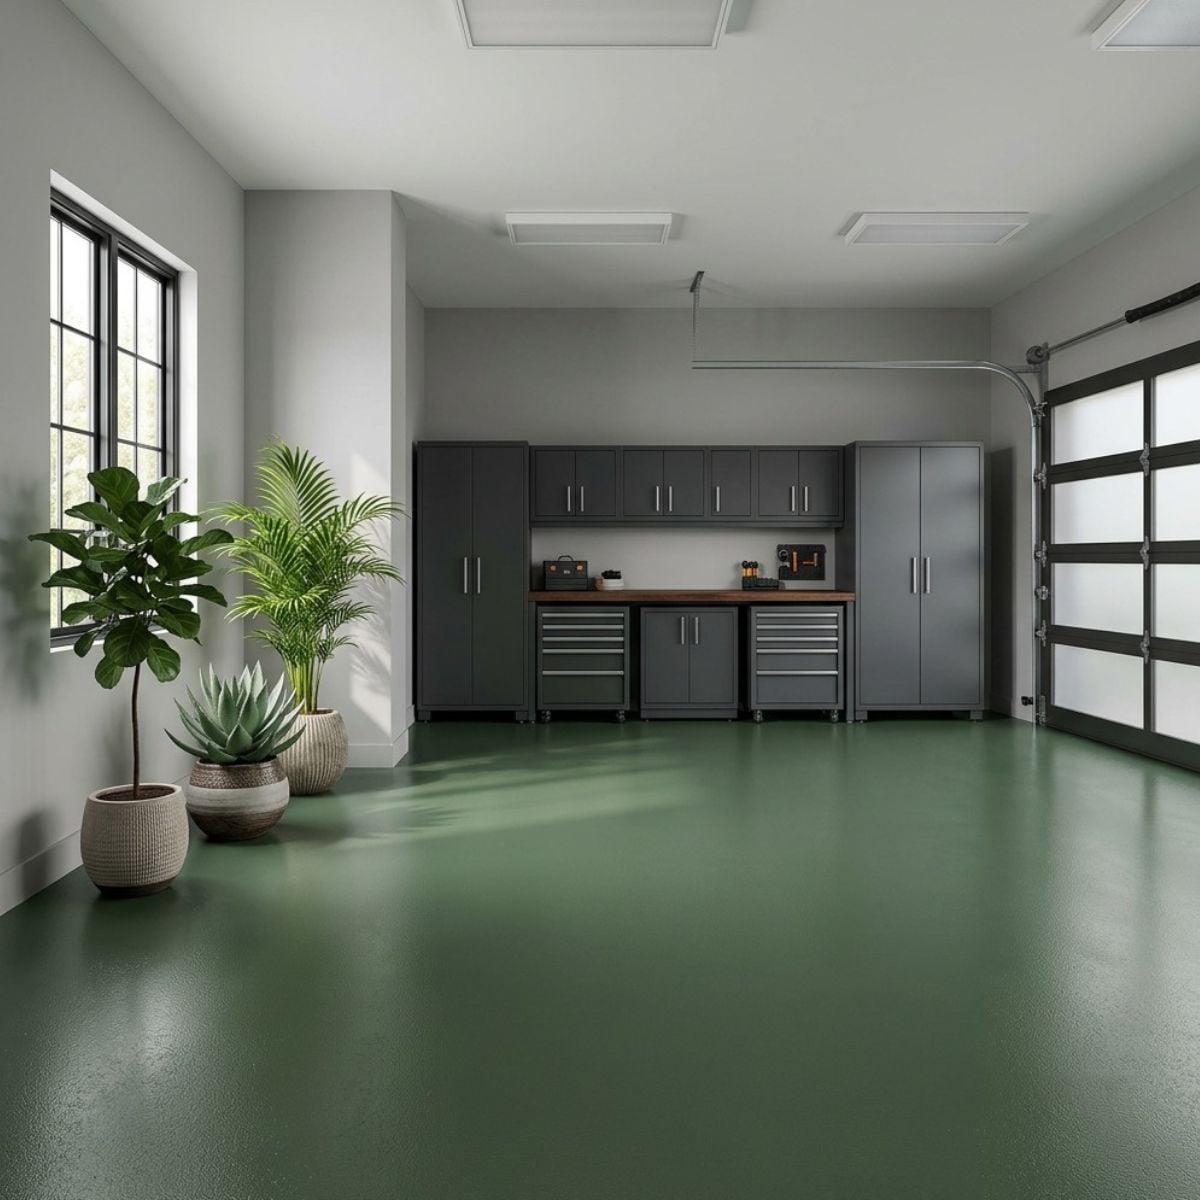
The most common decorative concrete coating systems combine a tinted resin base coat with a broadcast material — either vinyl chips or decorative quartz granules — followed by a clear top coat that locks everything in and provides the final surface protection. The result is a floor that looks custom, performs exceptionally well under traffic and chemicals, and lasts for years with minimal maintenance.
These systems are used on garage floors, basement floors, workshop floors, commercial showrooms, retail spaces, locker rooms, pool decks, patios, and anywhere else a hard-wearing, professional-looking floor is needed. The flexibility of the system — in color, texture, broadcast density, and top coat choice — makes it suitable for nearly any environment and aesthetic.
Every coating system, regardless of complexity, moves through the same fundamental layers. Understanding what each layer does helps you make better material decisions before you start — and helps you troubleshoot if something doesn’t go according to plan.
Primer Coat
Applied thin to seal porous concrete, eliminate air pockets that cause bubbling, and protect against minor moisture vapor. Conditional — required when concrete is porous or shows moisture. Significantly improves base coat coverage rates.
Base Coat
The structural resin layer, tinted to your chosen color and applied at controlled thickness. This is what the broadcast media embeds into. Applied with a notched squeegee and backrolled for even distribution.
Broadcast Media
Vinyl chips or decorative quartz granules thrown into the wet base coat. Creates the visual texture and color pattern of the floor. Applied to full broadcast (rejection) for maximum coverage and slip resistance.
Top Coat
A clear, protective finish coat applied over the cured broadcast. Locks in the chips or quartz, provides UV resistance, abrasion resistance, and chemical protection. The top coat determines how the floor performs long-term.
Second Top Coat
An optional additional clear coat that adds thickness, protection, and the ability to choose a satin (low-sheen) finish. Always recommended for partial broadcast chip floors and high-performance commercial applications.
RZ Tint
Concentrated pigment added to the base coat resin after mixing. At 4 oz per gallon, a single container tints one pour. The tint color sets the background tone visible through the broadcast and along edges.
The two most common broadcast options — vinyl chips and decorative quartz granules — each produce a distinct look and performance profile. The choice between them comes down to the aesthetic you want, the performance demands of the space, and how comfortable you are with the broadcast technique.
- Easier to broadcast evenly. Chips are larger and lighter, which gives them a natural flutter as they fall. This makes it significantly easier for first-time installers to achieve a random, consistent distribution without visible streaks or uneven density.
- Partial broadcast is an option. You can stop before rejection and leave portions of the tinted base coat intentionally exposed as part of the design — a decision that’s harder to execute with quartz.
- Wide color selection. Chips come in dozens of multi-color blends that combine 4–6 colors in a single broadcast, giving finished floors a dimensional, layered appearance.
- Planned at 8 sq ft per pound for full broadcast, with real-world usage ranging from 5–10 sq ft/lb depending on technique and chip size.
- Most popular choice for residential garages and general DIY installations.
- Superior abrasion and slip resistance. Quartz is one of the hardest naturally occurring minerals, and a full quartz broadcast creates a surface that can withstand heavy traffic, dragged equipment, and harsh chemical exposure at a level vinyl chips can’t match.
- Always applied at full broadcast. Quartz floors are always broadcast to rejection — there is no partial broadcast option. The system creates a completely encapsulated quartz surface.
- Requires better technique. Quartz granules are denser than chips and fall with less flutter. They need to be agitated as they leave your hand to avoid landing in a directional streak. Two-pass broadcasting in opposite directions is required for an even finish.
- Planned at 1 lb per square foot for full broadcast, in two passes (60% first pass, 40% to rejection).
- Preferred for commercial and industrial environments where surface durability is the primary concern.
The resin you choose for your base coat and top coat determines not just how long the project takes, but how the floor performs for years afterward. Walttools offers three professional-grade resin options, each optimized for different use cases and installer experience levels.
- Polyaspartic 85 — A high-performance polyurea coating used as both a base coat and a top coat. It has a 4–6 hour recoat window and excellent UV and abrasion resistance. Because it cures quickly both in the bucket and on the floor, it rewards preparation — but it also means experienced installers can complete a full floor in a single day. If you’ve done coatings before and you’re ready to move, Polyaspartic 85 is the most efficient system available.
- Epoxy HP — A professional two-part epoxy with a longer working time on the concrete surface, making it significantly more forgiving for DIY installers. The trade-off is a longer set time of 8–16 hours between coats, which means your project spreads across 2–3 days. Epoxy will yellow over time if left exposed to UV — which is why it’s always paired with a polyaspartic or aliphatic urethane top coat. In a full chip or quartz broadcast system, the bulk of the epoxy base coat is never directly exposed to sunlight or wear, making it an excellent and cost-effective base coat choice.
- AU 85 (Aliphatic Urethane) — The highest-performing top coat in the Walttools lineup. Unlike conventional urethanes, AU 85 has been formulated to go on at full thickness without foaming — a common failure point with standard aliphatic products. It delivers superior protection against UV, abrasion, chemicals, and oil, and its longer working time makes it the most DIY-friendly top coat option despite being a professional-grade material. For floors that need to perform at the highest level for the longest time, AU 85 is the right choice.
Both Polyaspartic 85 and Epoxy HP are formulated to deliver the same coverage rates and can be tinted to the same color options. The choice between them is a timeline and experience decision, not a performance trade-off at the base coat level.
No resin system — regardless of how good the products are — will perform long-term on a surface that wasn’t properly prepared. Surface preparation is the most critical step in any concrete coating project, and it’s the step that separates floors that bond and hold for a decade from floors that delaminate inside a year.
The goal of surface preparation is to achieve a concrete surface profile (CSP) of CSP-2 or CSP-3 — a level of mechanical roughness that gives the resin something to grip. This is achieved by grinding the floor with a walk-behind floor grinder equipped with appropriate diamond tooling. A 60-grit sandpaper feel is a good approximation of what properly ground concrete should feel like underfoot. Pressure washing alone is not a substitute for mechanical grinding — it removes surface contaminants but doesn’t open the concrete pore structure the way grinding does.
After grinding, thorough dust removal is essential. Any dust left on the surface acts as a release layer between the concrete and the coating, dramatically reducing adhesion. Vacuum the entire floor thoroughly before any resin is applied.
Crack repair, control joint filling, and moisture testing are all part of a complete surface preparation process. Cracks that aren’t addressed will telegraph through the coating. Control joints filled with an epoxy or polyaspartic slurry create a continuous, seamless surface. Moisture testing — either a simple plastic sheet test or an ASTM F-1869 vapor transmission test for heavy emission cases — tells you whether a primer coat is necessary before your base coat goes down.
The primer coat is conditional — meaning whether you need it depends on your specific concrete, not a universal rule. There are two situations where primer is strongly recommended:
- Highly porous concrete. If your concrete surface looks like foam or swiss cheese after grinding — full of visible holes and voids — those air pockets will create bubbles in your base coat as the trapped air rises into the wet resin. A thin primer coat seals those voids before the base coat goes down, eliminating the problem entirely.
- Minimal moisture emission. If the plastic sheet test shows any condensation or darkening under a taped piece of plastic left for 12–24 hours, moisture is moving through your slab. A primer coat provides a protective barrier. Heavy moisture emission warrants an ASTM F-1869 vapor transmission test to determine the appropriate primer system.
Beyond solving those two problems, the primer coat has a material benefit worth understanding: on flake (vinyl chip) floors, adding a primer coat takes your base coat coverage from 100 sq ft/gal up to 150 sq ft/gal. On quartz floors, it moves coverage from 150 sq ft/gal up to 175 sq ft/gal. On a 600 sq ft two-car garage, that difference in coverage rate substantially offsets the cost of the primer itself — making it a financially sensible addition on larger projects even when moisture and porosity aren’t a concern.
One of the most common mistakes on coating projects is underestimating how long each phase takes, or misunderstanding what “recoat time” actually means. Here’s a realistic breakdown for a standard 1–3 car garage project:
- Epoxy HP with primer: 5–16 hrs of labor + 20–30 hrs of wait time. Realistically a 3-day project.
- Epoxy HP without primer: 4.5–14.5 hrs of labor + 10–18 hrs of wait time. Comfortable 2–3 day project.
- Polyaspartic 85 with primer: 5–16 hrs of labor + 8–14 hrs of wait time. Can be completed in 1–2 days.
- Polyaspartic 85 without primer: 4.5–14.5 hrs of labor + 4–8 hrs of wait time. Achievable in 1 day with experience.
- Adding a second top coat layer adds approximately 30 min to 2 hrs of additional labor after a 4–12 hr wait.
These timelines assume 70°F and 50% relative humidity. Higher temperatures accelerate set times and compress working windows — particularly important for polyaspartic, which sets faster than epoxy in warm conditions. If you’re working in summer heat, plan smaller batch sizes, work in sections, and be ready to move quickly.
Your car needs to stay out of the garage for 3–7 days after the final coat is applied, even though the surface will feel hard before that. Full cure — when the coating achieves its rated hardness and chemical resistance — takes longer than surface dry time.
Walttools was built by contractors, for contractors — and that foundational mindset shapes everything about how our products are formulated, packaged, and supported. We’re a specialty concrete products company based in Morris, Illinois, and we’ve spent years developing coating systems that perform at a professional level while remaining genuinely accessible to motivated DIYers.
Here’s what that actually means in practice:
- Our resins are formulated to flow better than the competition. Walttools Epoxy HP and Polyaspartic 85 are designed to spread more evenly with a notched squeegee and roller, which means more consistent film thickness, fewer holidays (thin or missed spots), and less material waste. This isn’t a marketing claim — it’s something installers notice immediately when switching from other brands.
- AU 85 is genuinely different from standard aliphatic urethanes. Most aliphatic urethane top coats foam and create surface defects when applied at useful thickness. AU 85 was specifically formulated to resist foaming at a full working coat, which lets you apply it at the correct mil thickness in one pass. The result is a harder, more durable, more consistently applied top coat than anything else in its class.
- Our RZ Tint system is cleaner and more predictable than competitive pigment options. At 4 oz per gallon of resin, RZ Tint delivers consistent, saturated color without affecting workability or pot life. The full color range — from neutral grays to bold accent colors — is available in the same 6 oz container size, making color additions simple and repeatable from project to project.
- We sell real professional sizes, not inflated kit markups. Our 15-gallon Epoxy HP, 15-gallon Polyaspartic 85, and 10-gallon AU 85 kits are priced at genuine professional volume pricing. You’re not paying a retail premium to get the same product a contractor orders — the same products, the same formulations, the same pricing structure, regardless of whether you’re coating one garage or one hundred.
- Our support is staffed by people who actually coat floors. When you call or email Walttools, you reach a team that knows how to answer technical questions about application technique, coverage calculation, product compatibility, and troubleshooting. Not a general customer service script — actual product knowledge from people who have applied these systems.
- We publish our coverage rates and installation parameters clearly. Too many coating brands use optimistic coverage numbers that don’t reflect real-world conditions. We publish the actual numbers — including how they change with primer, without primer, on quartz versus chip floors, at different application thicknesses — so you can build an accurate material order before your project starts.
Most specialty coating brands choose a lane: they either sell to professionals at trade pricing with minimal consumer support, or they sell to consumers in simplified kits that don’t reflect how professional coatings actually work. Walttools deliberately does neither.
Our product line, our documentation, and our support structure are designed to serve both audiences at the same time — because the best outcome for a DIY homeowner and the best outcome for a professional contractor are the same thing: a floor that’s installed correctly, looks great, and holds up for years.
For DIYers: Our installation guide, kit builders, and how-to resources are built to give you everything you need to complete a professional-grade floor without professional experience. We explain not just what to do, but why — so you understand the reasoning behind each step and can adapt when real-world conditions don’t match the textbook. The Epoxy HP base coat is specifically recommended for first-time installers because its longer working time on the concrete surface gives you the margin to spread and correct before the resin sets. AU 85 is recommended as the top coat for anyone who wants maximum durability and the most forgiving application window of any top coat we offer.
For Contractors: Our professional volume pricing, consistent formulations, and technical depth make Walttools a reliable system to build a business around. When your coverage rates are predictable and your material quality is consistent, your bids are accurate and your installations are repeatable. The full Walttools system — from primer through top coat — is designed to give installers the kind of process confidence that allows a crew to move efficiently without second-guessing material behavior on every job. And when you’re training new crew members, the same installation guide your customers use is a legitimate starting point for professional onboarding.
One of the most underappreciated benefits of a properly installed coating system is how easy it is to maintain. A cured resin floor with a quality top coat is non-porous, chemical-resistant, and smooth enough to clean quickly with basic equipment.
- Routine cleaning: A dust mop, broom, or shop vacuum handles everyday debris. For deeper cleaning, a mop with a pH-neutral cleaner is all you need. Avoid acidic or highly alkaline cleaners, which can dull or degrade the top coat over time.
- Chemical spills: Wipe up automotive fluids, oils, and chemicals promptly. While AU 85 and Polyaspartic 85 top coats are highly chemical-resistant, prolonged exposure to concentrated solvents or acids can eventually affect the finish.
- UV exposure: Polyaspartic 85 and AU 85 top coats are formulated to resist UV yellowing. Epoxy used as a top coat will yellow over time in UV-exposed environments — which is one of the primary reasons we recommend a polyaspartic or aliphatic urethane top coat over any epoxy base coat.
- Scratch and abrasion: Quartz broadcast floors have exceptional scratch resistance. Vinyl chip floors are more susceptible to point abrasion from hard plastic casters and dragged metal — rubber casters and furniture pads significantly extend the life of the top coat on chip floors.
- Recoating: A properly installed top coat on a well-prepared surface should last many years under normal residential or light commercial use. If the finish dulls or shows wear, the floor can be lightly abraded and recoated without stripping the entire system — one of the advantages of professional-grade resin floors over paint-based alternatives.
Most coating failures trace back to a small number of predictable mistakes. Knowing what they are before you start is the most effective way to avoid them.
- Skipping or rushing surface preparation. The most common cause of coating delamination and failure. Grinding cannot be shortcut. Dust removal cannot be partial. If the surface isn’t right, no product can compensate.
- Mixing at high speed. Air incorporation during mixing creates bubbles in the applied coating. Both Epoxy HP and Polyaspartic 85 should be mixed at low speed with a non-aerating helix mixer. Fast mixing looks efficient but creates surface defects that are difficult or impossible to correct after application.
- Mixing ahead of time. Both epoxy and polyaspartic have pot lives that begin the moment Part A and Part B are combined. Mixing material in advance and leaving it in the bucket accelerates the exothermic reaction and makes the material unusable before it reaches the floor. Mix only what you can pour and spread in 10–15 minutes.
- Incorrect coverage assumptions. Applying the base coat too thin — because you were trying to stretch a material order — is one of the most common sources of broadcast issues and top coat adhesion problems. Plan your material quantities accurately before you start. Order slightly more than your calculation says you need.
- Running out of chips mid-broadcast. If your base coat is wet and you run out of broadcast material, you’re in a difficult position. Chips and quartz are inexpensive relative to the cost of reworking a floor. Always have more broadcast media on hand than your coverage calculation requires.
- Applying top coat too thick (or too thin). Applying material too thick in a single pass can cause foaming and surface defects. Applying it too thin leaves the floor under-protected. Follow the recommended coverage rates and use the appropriate applicator tool for the coat you’re applying.
- Working in extreme temperatures without adjusting technique. High heat significantly accelerates the working time of polyaspartic in particular. In summer conditions above 80°F, reduce your batch size, work in smaller sections, and keep material in a shaded area before mixing.