Vinyl Flake Flooring Kits — Shop by Color and System
1-Day Polyaspartic Vinyl Flake Flooring Kits
- Polyaspartic 85 Base Coat — Tinted with RZ Tint and applied at 100 sq ft/gal without primer (or 150 sq ft/gal with primer). Mixed at low speed for 30–60 seconds. Pour in ribbons across the floor and spread with a notched squeegee and ¼” nap roller.
- RZ Tint — Added directly to the resin after mixing at 4 oz per gallon. The base coat color shows through the chips in the joints and along edges, and strongly influences the overall tone of the finished floor.
- 1/4″ Vinyl Chip Broadcast — Applied at a full broadcast rate of approximately 8 sq ft/lb. Take handfuls and throw them up and outward — you’re aiming for an even “rain” effect, not throwing down at the floor. Keep broadcasting until the next chips you throw just sit on top of the previous layer (rejection). Excess gets scraped and vacuumed after curing.
- Polyaspartic 85 Top Coat — Applied after chip cleanup at 175 sq ft/gal. Polyaspartic is recommended as the top coat for UV and abrasion resistance. Its fast recoat window of 4–6 hours is what keeps the whole system inside a single day.
- Complete in 1 Day — Without a primer coat, total labor is 4.5–14.5 hrs with a 4–8 hr wait between coats. The entire project can be done in one day with good preparation.

2-3 Day Epoxy Vinyl Flake Flooring Kits
- Epoxy HP Base Coat — Tinted with RZ Tint and applied at 100 sq ft/gal without primer (or 150 sq ft/gal with primer). Mixed at low speed for 3 minutes. Epoxy’s longer working time on the concrete surface makes it more forgiving for first-time installers — you have more time to spread and correct before it sets up.
- RZ Tint — Added to the resin after mixing at 4 oz per gallon. The tint color shows through the chips and shapes the overall tone of the floor. Always mix the resin fully first, then add tint.
- 1/4″ Vinyl Chip Broadcast — Applied at approximately 8 sq ft/lb to full broadcast (rejection). Chips are larger and lighter than quartz, which makes them easier to throw in a random, even distribution. Excess is scraped and vacuumed after the base coat cures.
- Polyaspartic 85 Top Coat — Applied after chip cleanup at 175 sq ft/gal. Polyaspartic is the recommended top coat over an epoxy base to protect against UV yellowing and deliver long-term abrasion resistance.
- Complete in 2-3 Days — Without a primer coat, total labor is 4.5–14.5 hrs with a 10–18 hr wait between coats. The longer set time of epoxy lets you comfortably spread the work across two to three days while the bonding window stays open.
Pro Vinyl Flake Flooring Kits — AU 85 Top Coat
- Choose Your Base Coat — Select Polyaspartic 85 for a 1-day install with a 4–6 hour recoat window, or Epoxy HP for a more forgiving 2-3 day system with longer working time on the concrete surface. Both deliver the same coverage and can be tinted to match the look you’re after.
- Primer Coat (Recommended) — A thin primer coat seals porous concrete, eliminates air pockets that cause bubbling, and provides moisture protection. With primer, your base coat covers 150 sq ft/gal instead of 100 sq ft/gal on flake floors — a significant difference in material cost on larger projects.
- RZ Tint Base Coat — Added to the resin after mixing at 4 oz per gallon. The tint shows through the chips in joints and edges, and sets the background tone behind the broadcast. Pour material in ribbons and spread with a notched squeegee and ¼” nap roller.
- 1/4″ Vinyl Chip Broadcast — Applied at approximately 8 sq ft/lb to full broadcast (rejection) in a single pass. Chips are easier to broadcast evenly than quartz — their size and weight let them flutter slightly as they fall, which naturally randomizes the pattern. Excess is scraped and vacuumed after curing.
- AU 85 Aliphatic Urethane Top Coat — The highest performance top coat available. Formulated to go on thicker without foaming and delivers superior UV, abrasion, chemical, and oil resistance. Its longer working time also makes it the most DIY-friendly top coat option. Applied at 175 sq ft/gal on flake floors.
Vinyl Flake Flooring Kits — Full System Overview
Every vinyl flake flooring kit on this page is a complete DIY system — a tinted resin base coat, 1/4″ vinyl chip broadcast, and a UV-resistant top coat — engineered for garage floors and commercial spaces. Choose from 1-day polyaspartic systems, 2-3 day epoxy systems, or pro systems with AU 85 aliphatic urethane top coat. The table below summarizes each look, the materials involved, coverage rates, and estimated starting cost for a 1-car garage (300 sq ft) without a primer coat.
| Look | Vinyl Chip Blend | RZ Tint | Base Coat | Top Coat | Coverage Rates | Timeline | Starting Price* |
|---|---|---|---|---|---|---|---|
| 1-Day Polyaspartic Vinyl Flake Flooring Kits — Polyaspartic 85 Base Coat + Polyaspartic 85 Top Coat | |||||||
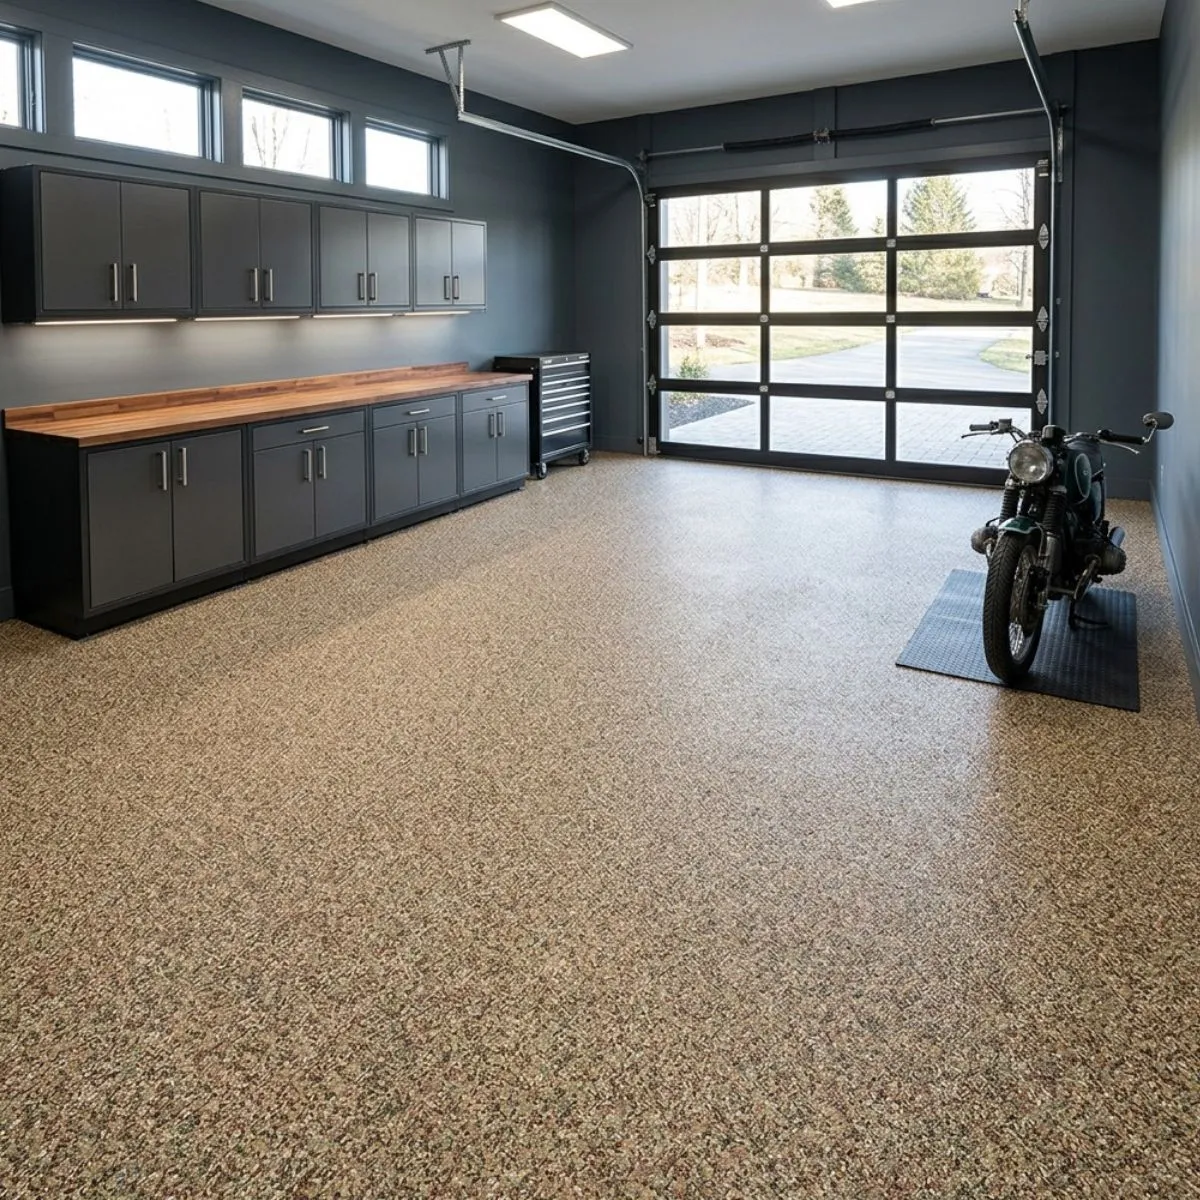
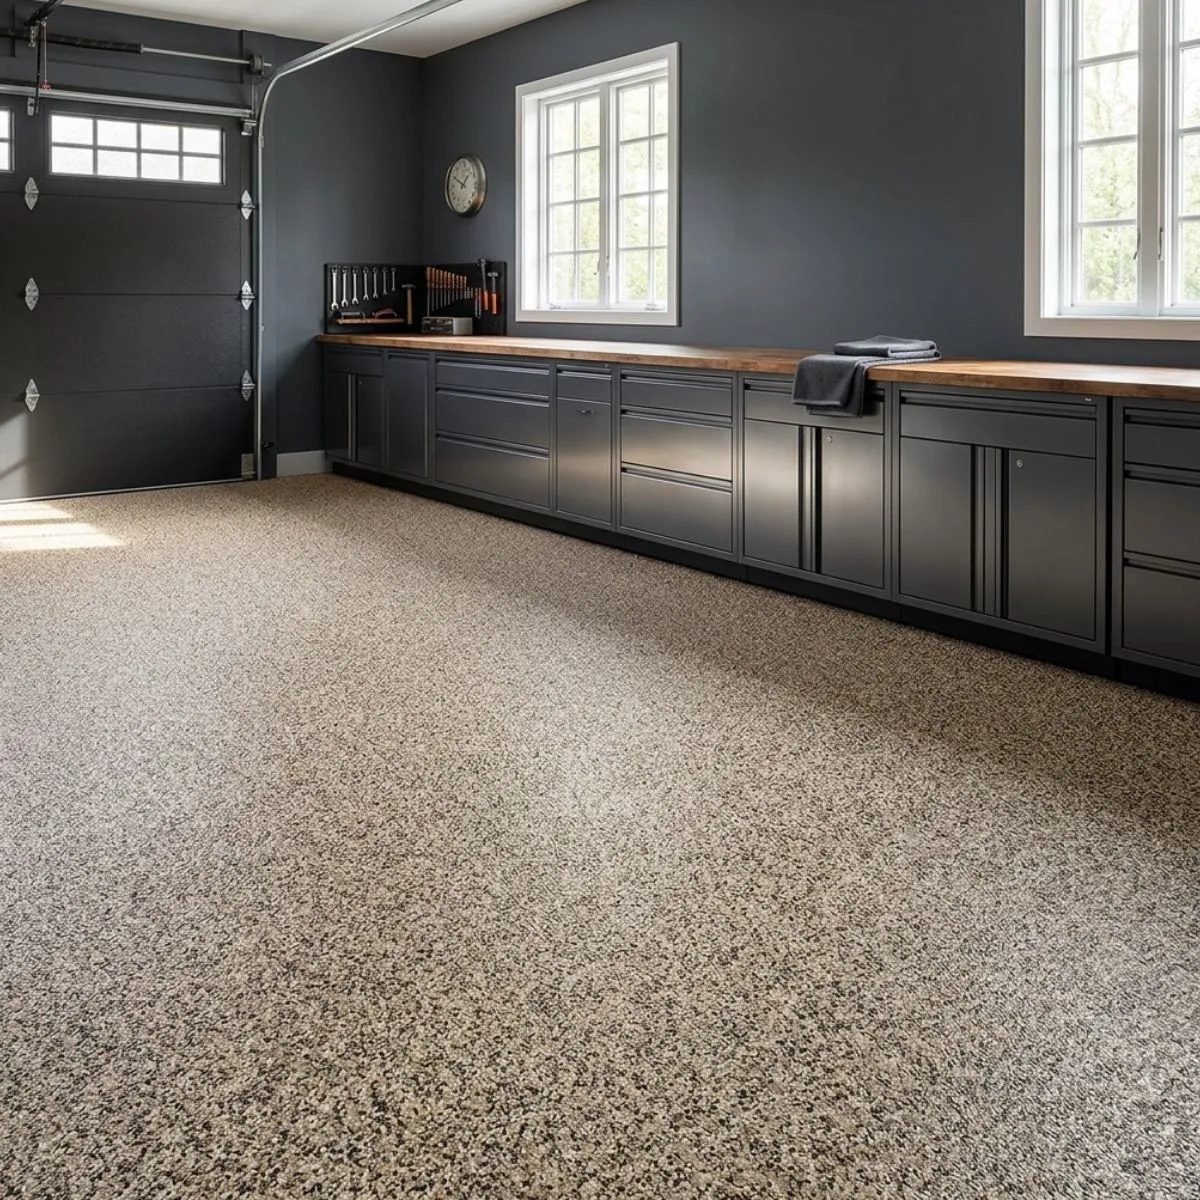
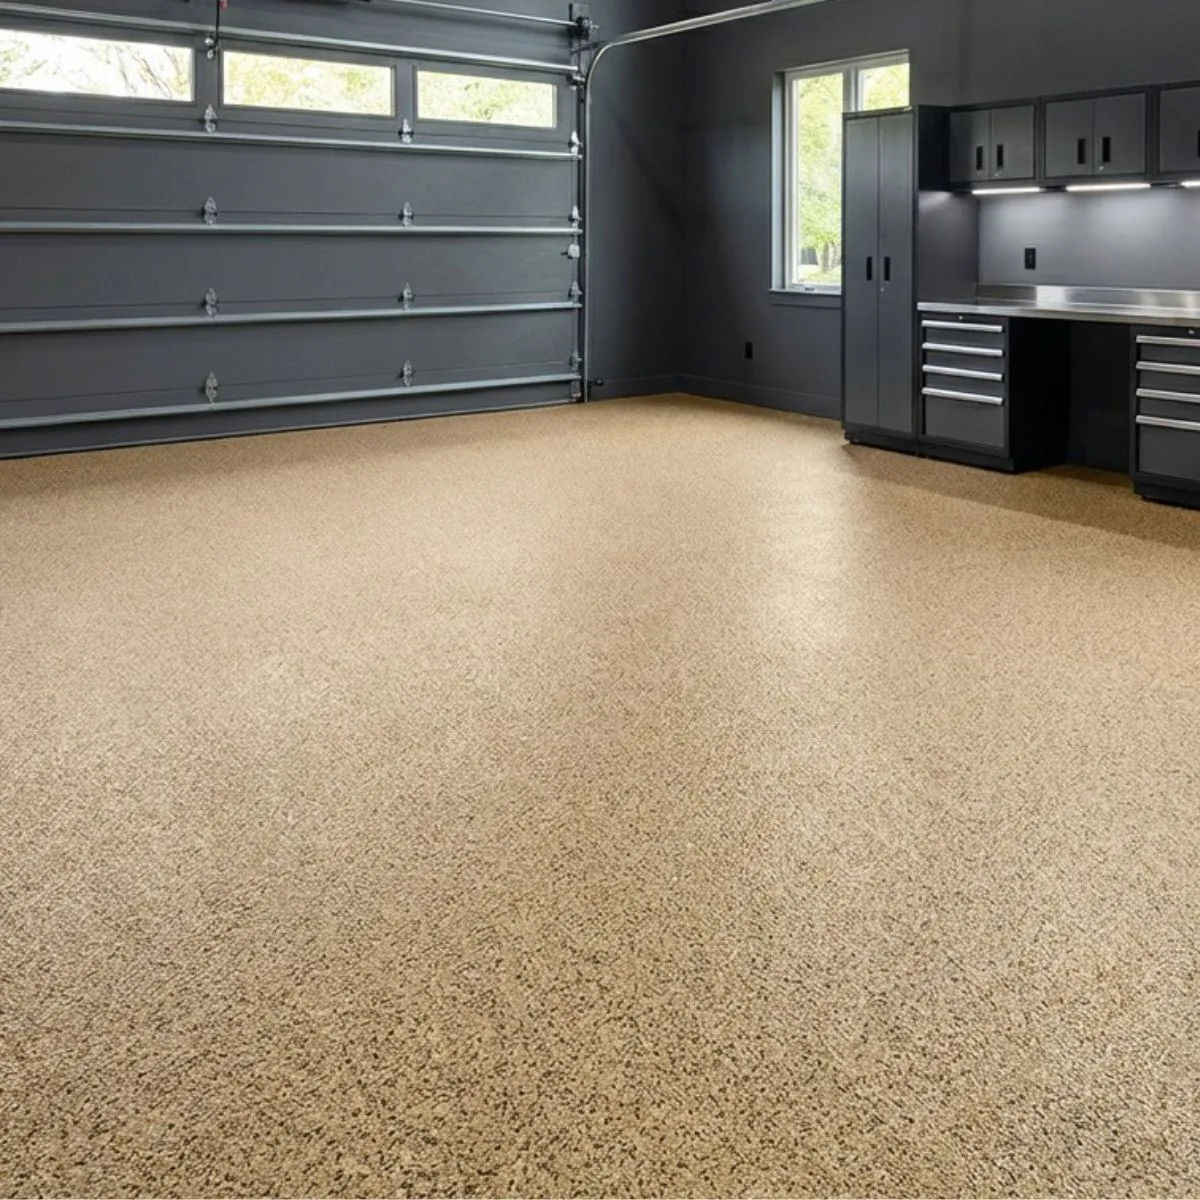
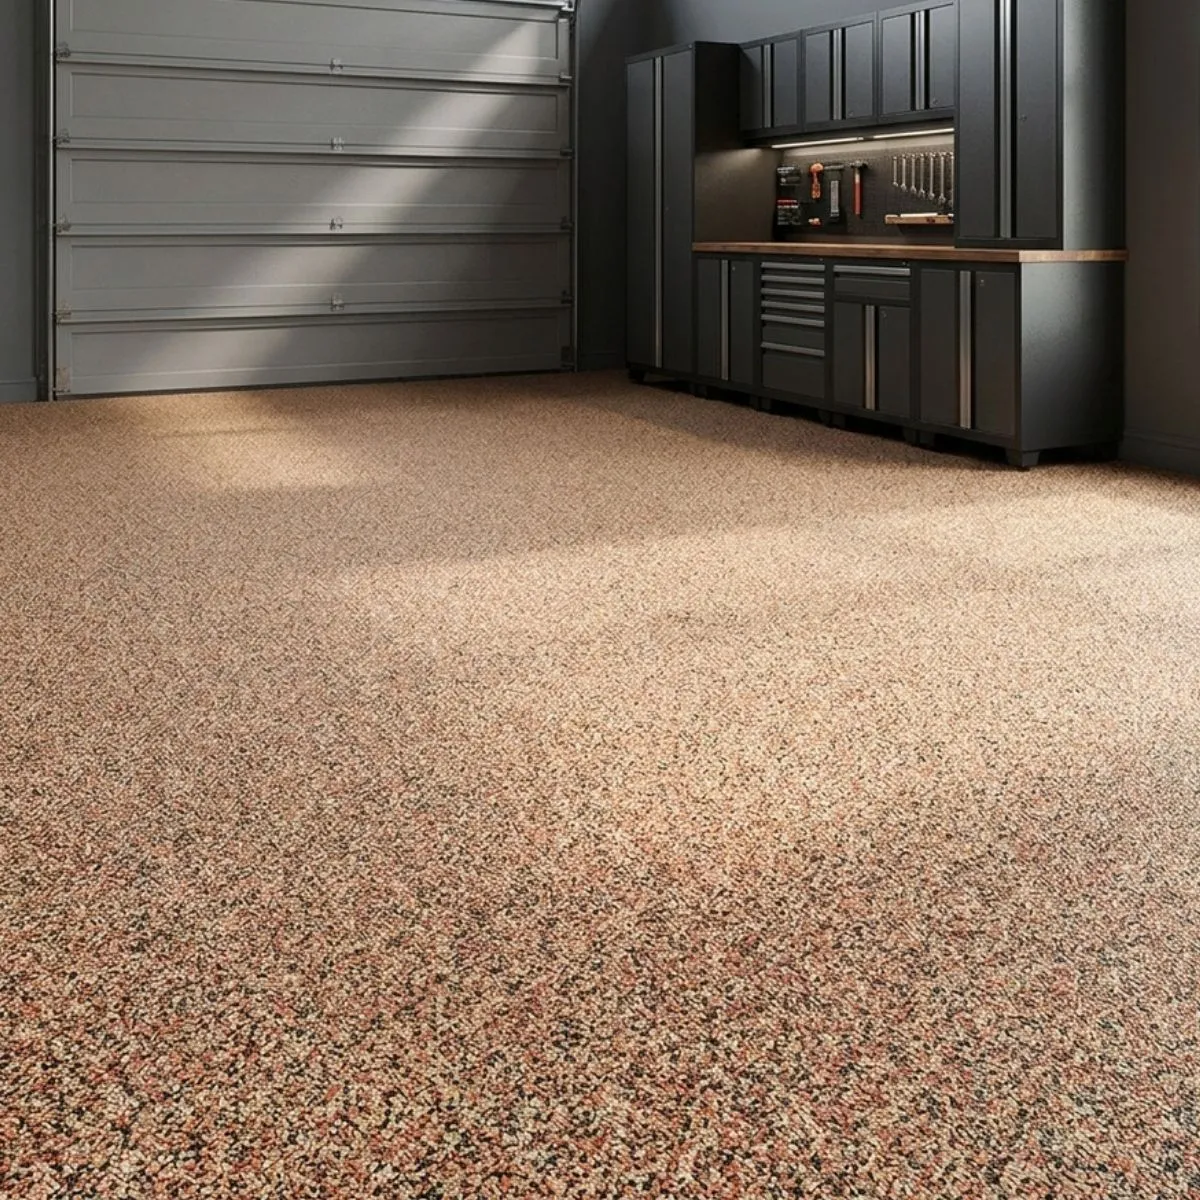
| Autumn | 1/4″ Vinyl Chips – Autumn | Hazelnut | Polyaspartic 85 | Polyaspartic 85 | Base coat: 100 sq ft/gal (150 with primer) · Top coat: 175 sq ft/gal · Chips: ~8 sq ft/lb full broadcast | 1 Day | From $708 |
| Classic Camo | 1/4″ Vinyl Chips – Classic Camo | Dark Gray | Polyaspartic 85 | Polyaspartic 85 | Base coat: 100 sq ft/gal (150 with primer) · Top coat: 175 sq ft/gal · Chips: ~8 sq ft/lb full broadcast | 1 Day | From $708 |
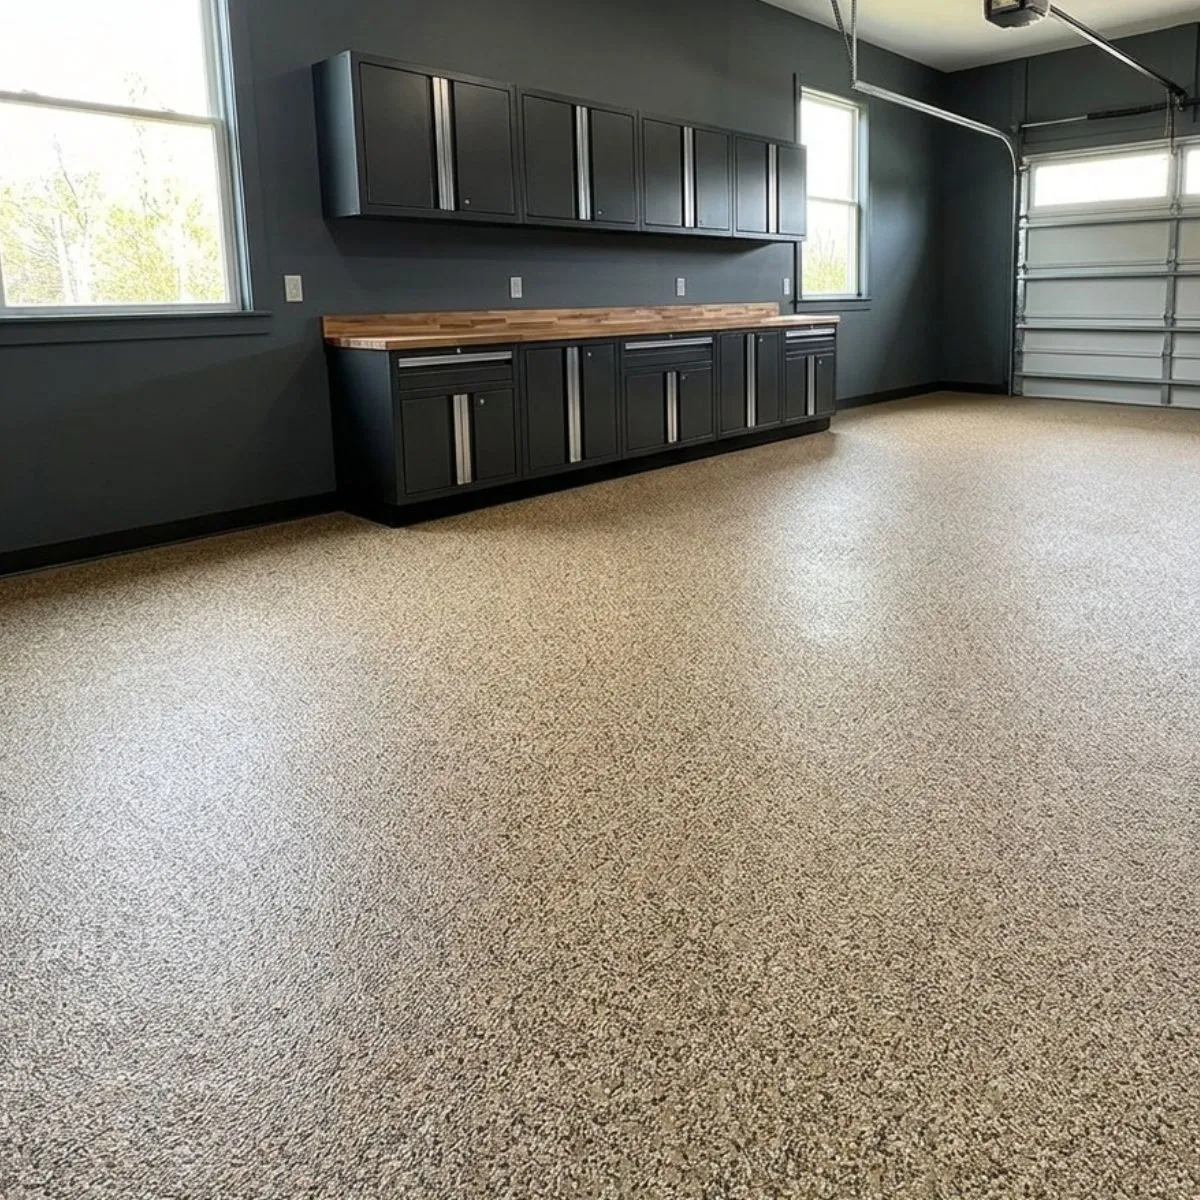
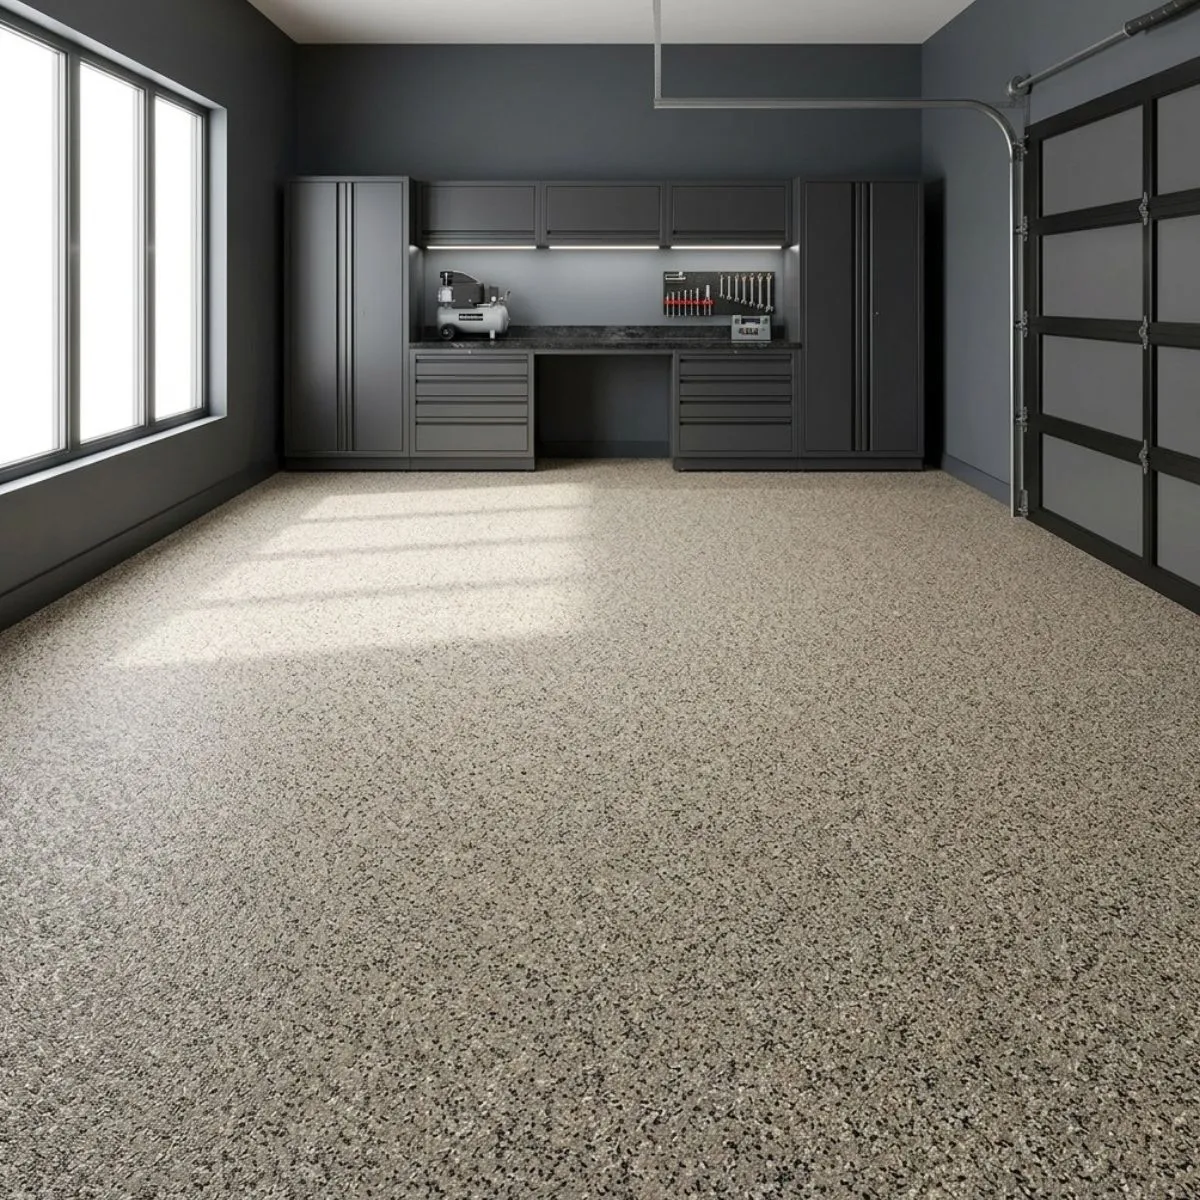
| Earthen | 1/4″ Vinyl Chips – Earthen | Whey | Polyaspartic 85 | Polyaspartic 85 | Base coat: 100 sq ft/gal (150 with primer) · Top coat: 175 sq ft/gal · Chips: ~8 sq ft/lb full broadcast | 1 Day | From $708 |
| Mod | 1/4″ Vinyl Chips – Mod | Aztec Red | Polyaspartic 85 | Polyaspartic 85 | Base coat: 100 sq ft/gal (150 with primer) · Top coat: 175 sq ft/gal · Chips: ~8 sq ft/lb full broadcast | 1 Day | From $708 |
| 2-3 Day Epoxy Vinyl Flake Flooring Kits — Epoxy HP Base Coat + Polyaspartic 85 Top Coat | |||||||
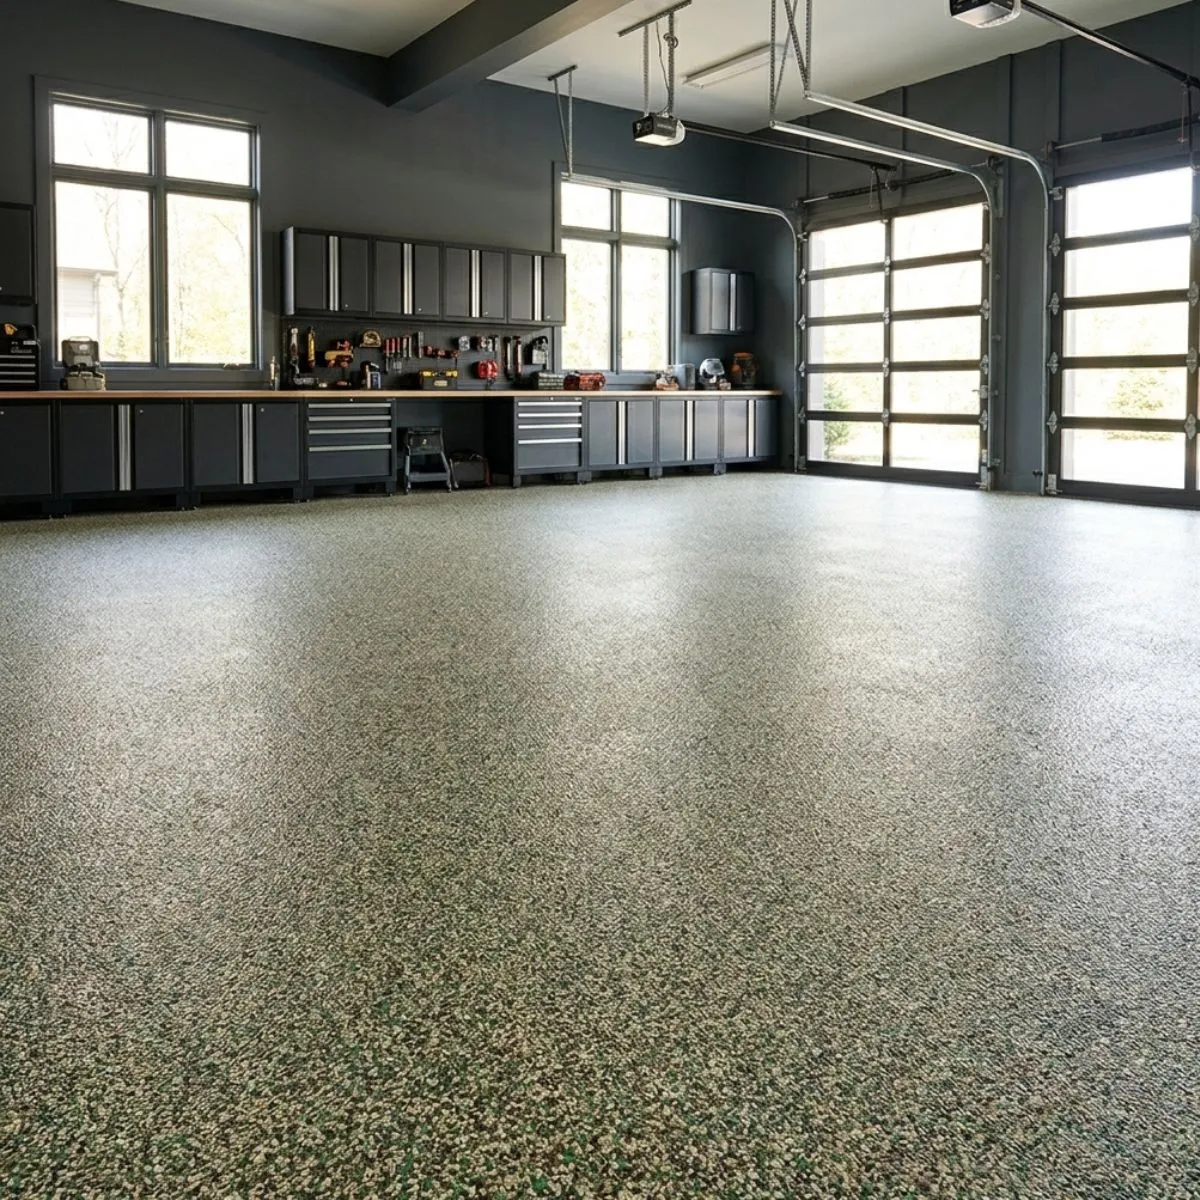
| Military | 1/4″ Vinyl Chips – Military | Light Gray | Epoxy HP | Polyaspartic 85 | Base coat: 100 sq ft/gal (150 with primer) · Top coat: 175 sq ft/gal · Chips: ~8 sq ft/lb full broadcast | 2-3 Days | From $608 |
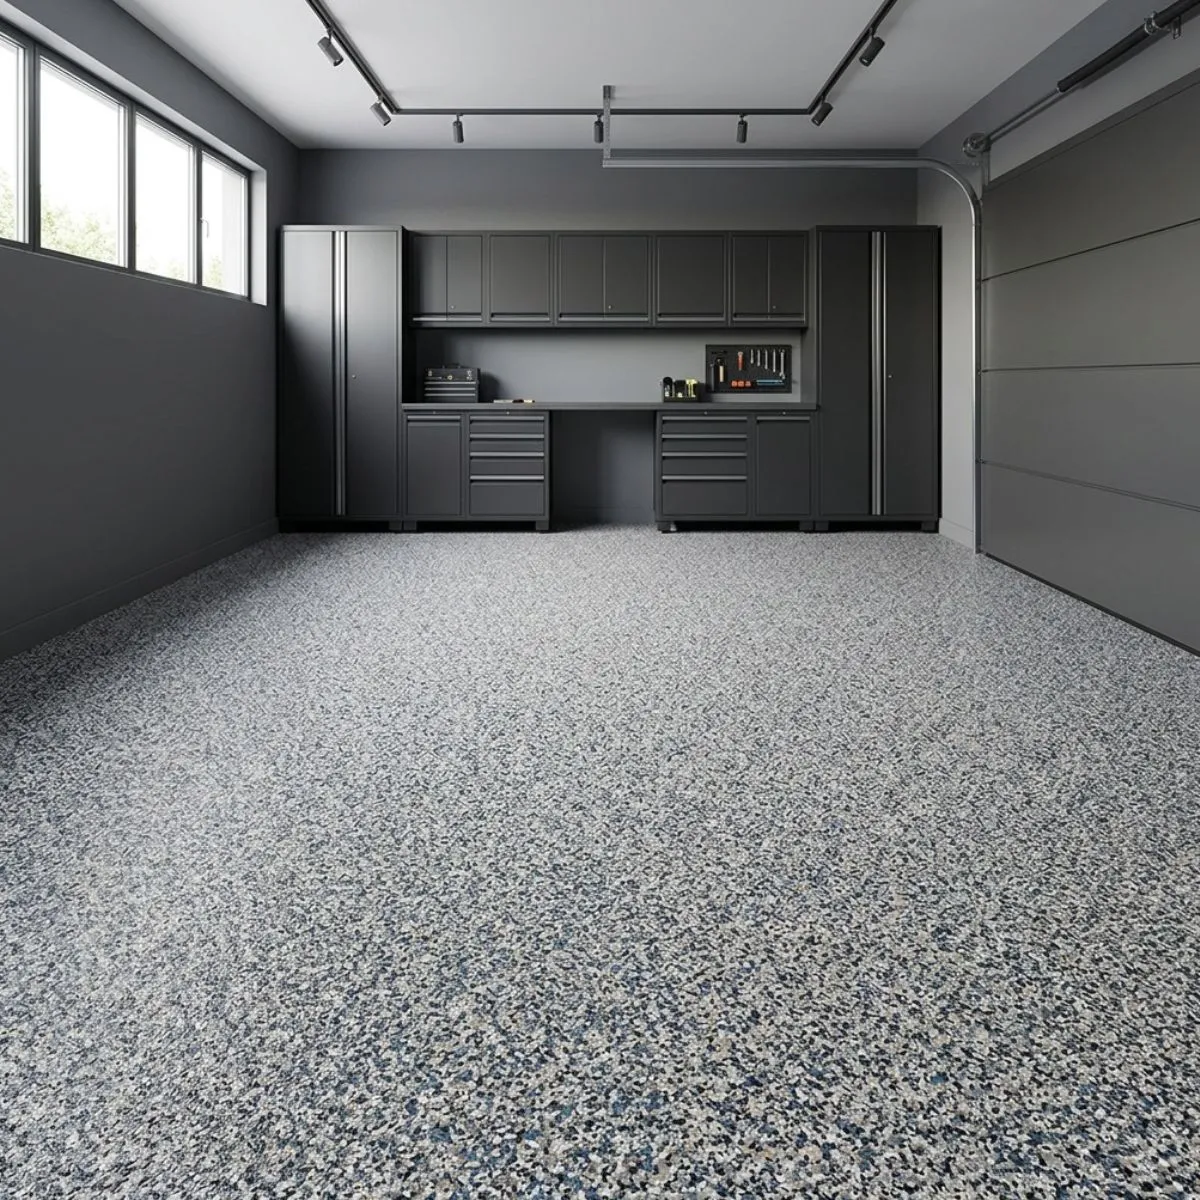
| Neutral | 1/4″ Vinyl Chips – Neutral | Medium Gray | Epoxy HP | Polyaspartic 85 | Base coat: 100 sq ft/gal (150 with primer) · Top coat: 175 sq ft/gal · Chips: ~8 sq ft/lb full broadcast | 2-3 Days | From $608 |
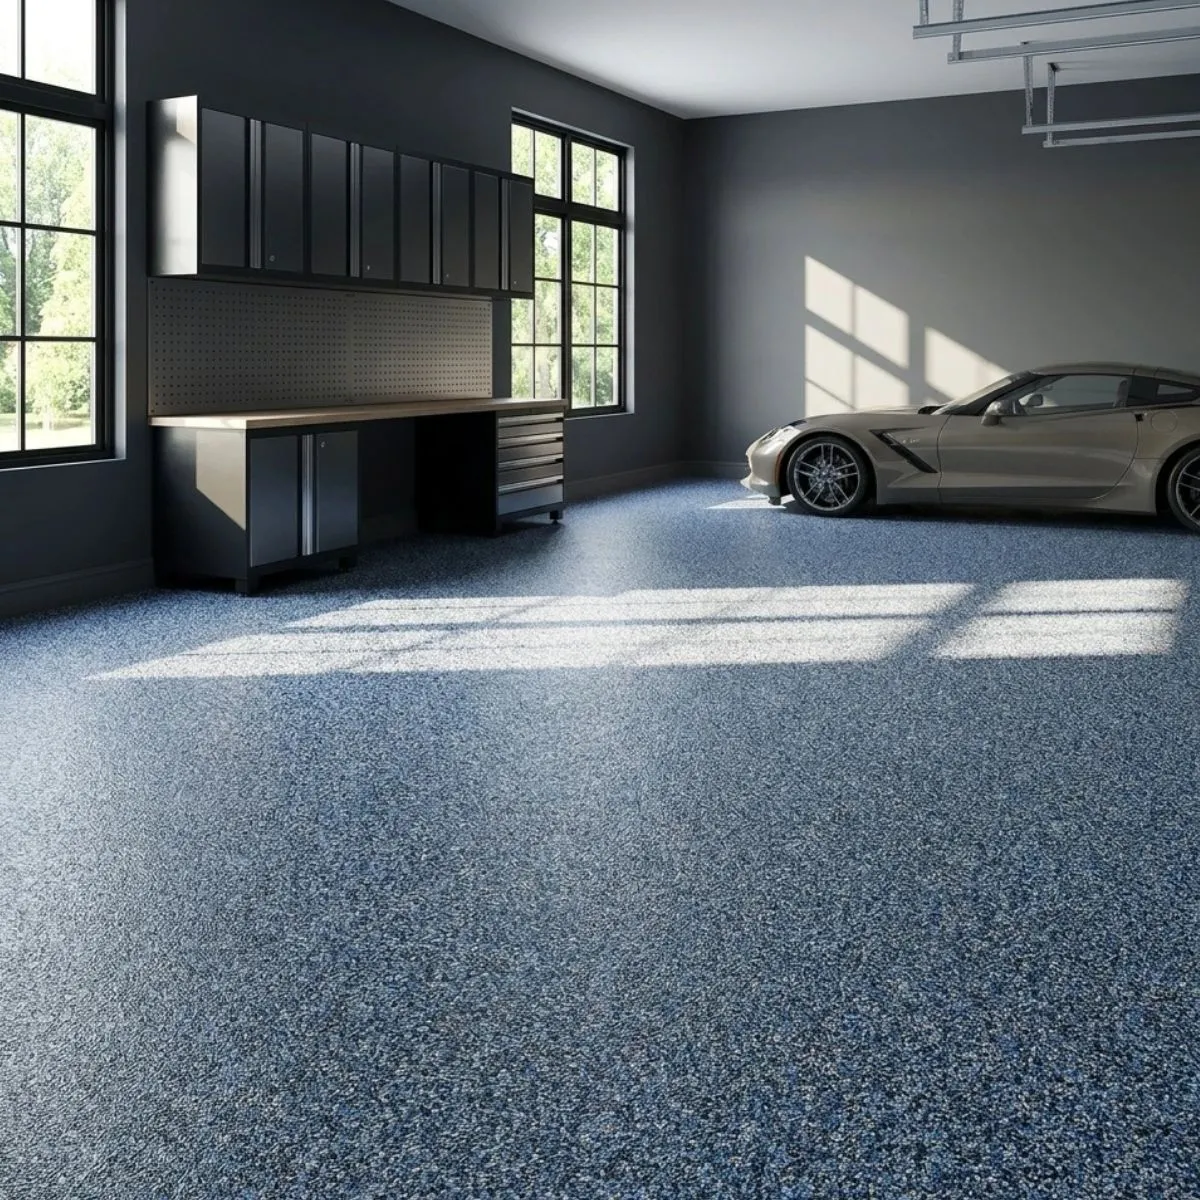
| Overcast Sky | 1/4″ Vinyl Chips – Overcast Sky | Sapphire Blue | Epoxy HP | Polyaspartic 85 | Base coat: 100 sq ft/gal (150 with primer) · Top coat: 175 sq ft/gal · Chips: ~8 sq ft/lb full broadcast | 2-3 Days | From $608 |
| Sepia | 1/4″ Vinyl Chips – Sepia | Champagne | Epoxy HP | Polyaspartic 85 | Base coat: 100 sq ft/gal (150 with primer) · Top coat: 175 sq ft/gal · Chips: ~8 sq ft/lb full broadcast | 2-3 Days | From $608 |
| Pro Vinyl Flake Flooring Kits — Polyaspartic 85 or Epoxy HP Base Coat + AU 85 Aliphatic Urethane Top Coat | |||||||
| Earl Grey | 1/4″ Vinyl Chips – Earl Grey | Black | Polyaspartic 85 or Epoxy HP | AU 85 Aliphatic Urethane | Base coat: 100 sq ft/gal (150 with primer) · AU 85 top coat: 175 sq ft/gal · Chips: ~8 sq ft/lb full broadcast | 1 Day or 2-3 Days | From $582 |
| Surf | 1/4″ Vinyl Chips – Surf | White | Polyaspartic 85 or Epoxy HP | AU 85 Aliphatic Urethane | Base coat: 100 sq ft/gal (150 with primer) · AU 85 top coat: 175 sq ft/gal · Chips: ~8 sq ft/lb full broadcast | 1 Day or 2-3 Days | From $582 |
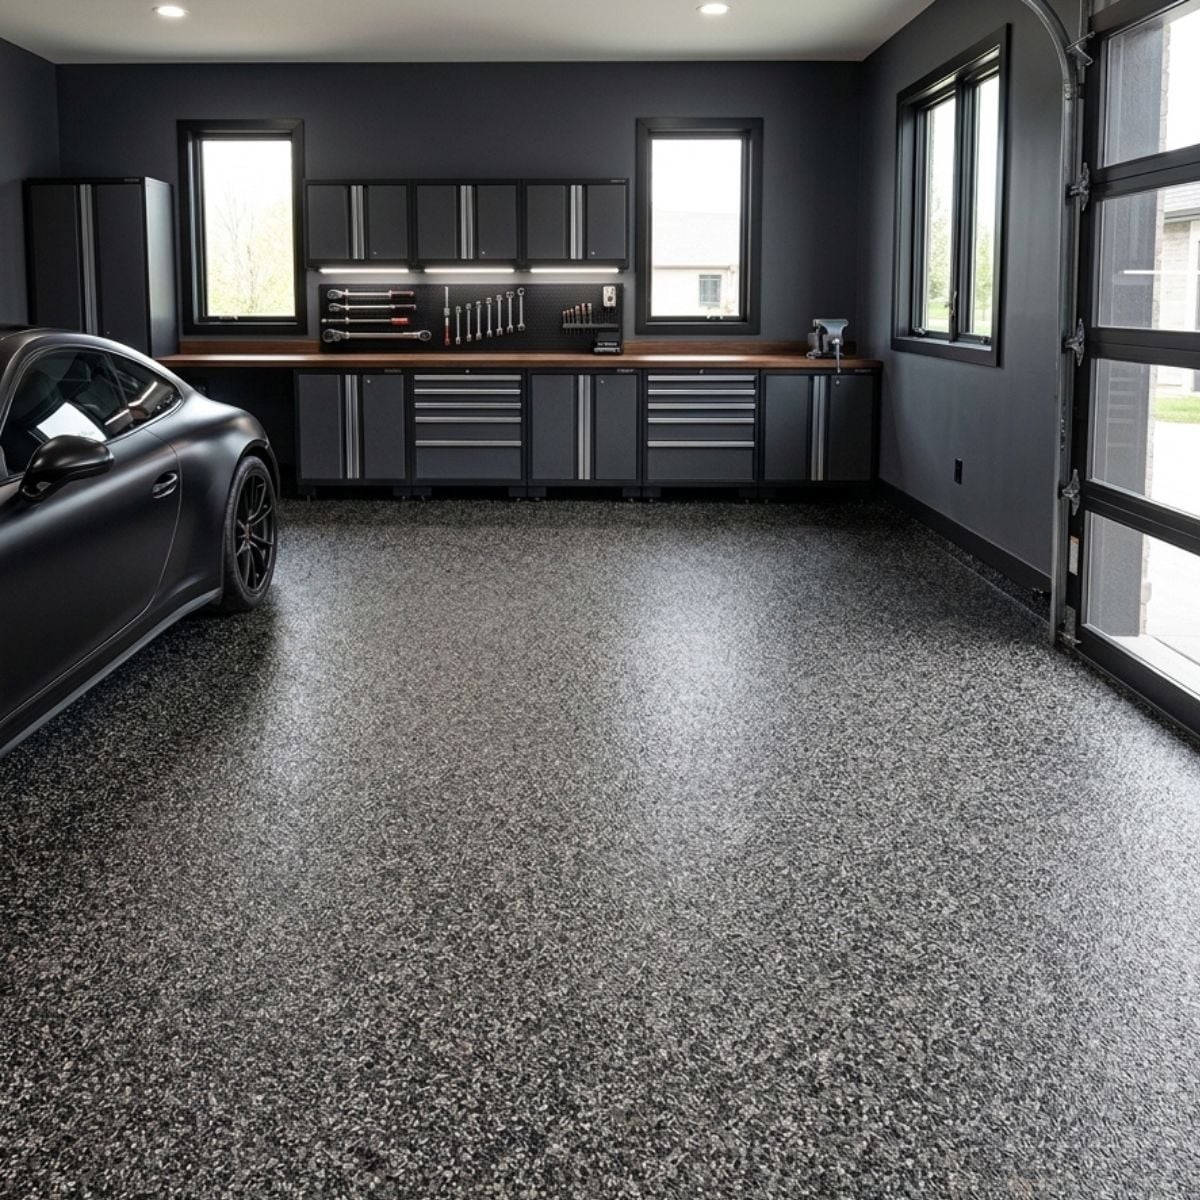
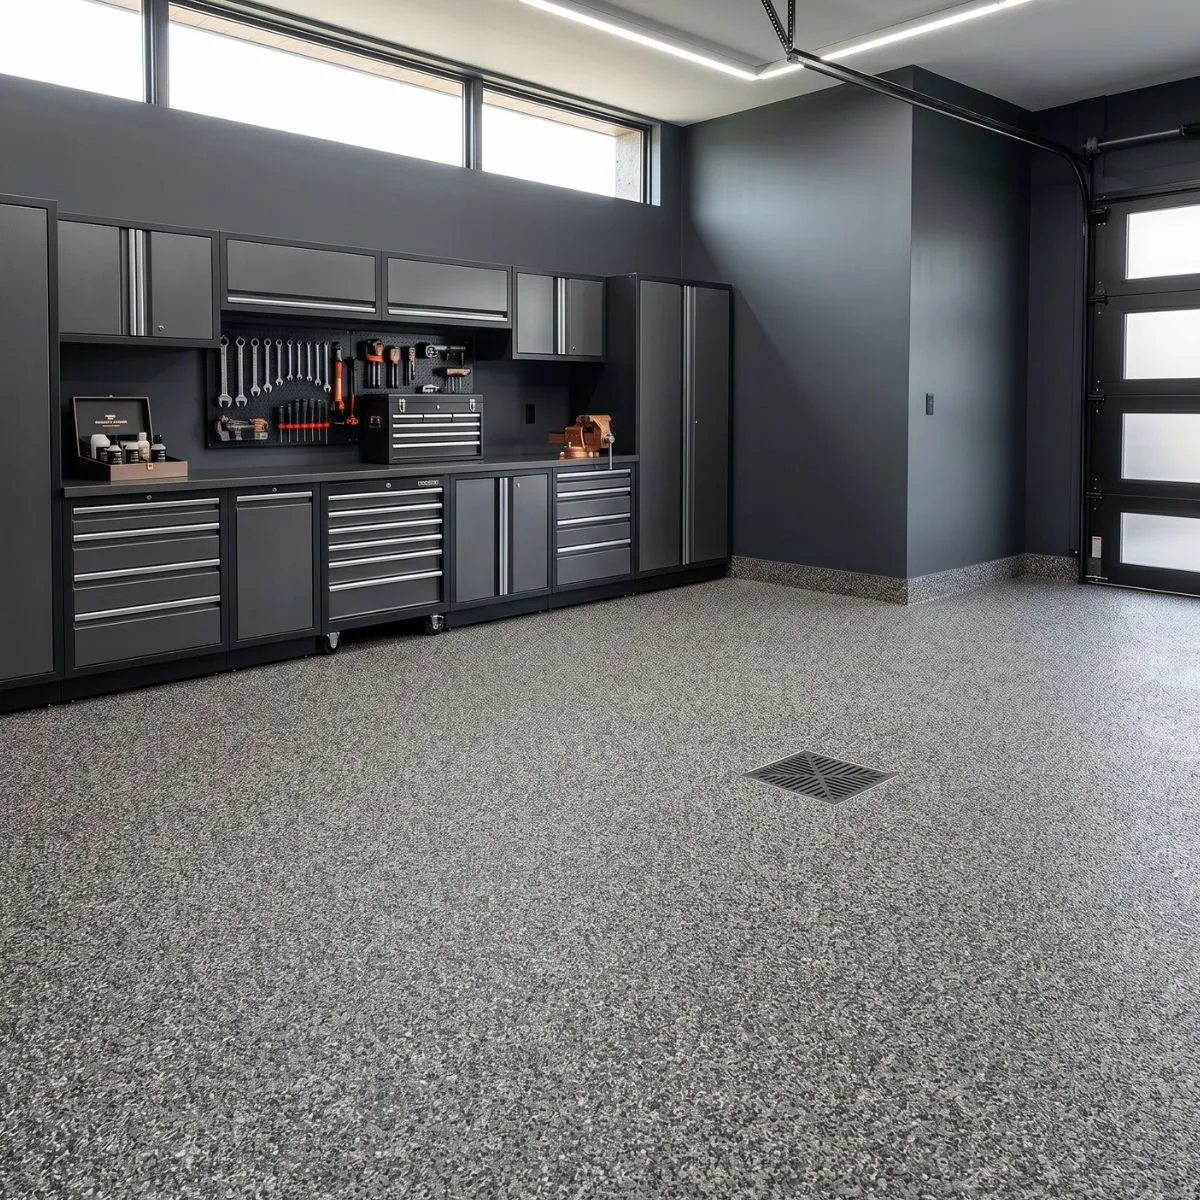
| Salt & Pepper | 1/4″ Vinyl Chips – Salt & Pepper | Medium Gray | Polyaspartic 85 or Epoxy HP | AU 85 Aliphatic Urethane | Base coat: 100 sq ft/gal (150 with primer) · AU 85 top coat: 175 sq ft/gal · Chips: ~8 sq ft/lb full broadcast | 1 Day or 2-3 Days | From $582 |
| Pumpkin | 1/4″ Vinyl Chips – Pumpkin | Coronado | Polyaspartic 85 or Epoxy HP | AU 85 Aliphatic Urethane | Base coat: 100 sq ft/gal (150 with primer) · AU 85 top coat: 175 sq ft/gal · Chips: ~8 sq ft/lb full broadcast | 1 Day or 2-3 Days | From $582 |
* Starting price reflects a 1-car garage (300 sq ft) with no primer coat. Pro system prices reflect Epoxy HP base coat. Adding a primer coat increases base coat coverage from 100 to 150 sq ft/gal, which significantly reduces material cost on larger floors. All systems require surface grinding to CSP-2 or CSP-3 profile before installation. Chip broadcast coverage of ~8 sq ft/lb can range 5–10 sq ft/lb depending on chip size and broadcast technique — order extra.
Every flake floor system on this page is built from the same core lineup of professional-grade materials. Understanding what each product does — and why it’s in the system — helps you make a more confident decision before you start.
- Polyaspartic 85 — A high-performance polyaspartic coating that works as both a base coat and a top coat. It has a quick recoat time of 4–6 hours, higher UV and abrasion resistance, and won’t yellow over time. If you’ve done floor coatings before and want to finish in a single day, this is the go-to choice. Keep in mind that the material sets up quickly — on the floor and in the bucket — so being well-prepared before you start is important.
- Epoxy HP — A two-part epoxy base coat that gives you a longer working time on the concrete surface, making it more forgiving for first-time installers. It has a longer set time of 8–16 hours between coats, which lets you spread the work across two to three days without losing your bonding window. Epoxy will yellow over time if left exposed to UV, which is why a polyaspartic or aliphatic urethane top coat is always recommended over it.
- AU 85 (Aliphatic Urethane) — The highest-performing top coat available. It’s formulated to go on thicker without foaming and delivers superior protection against UV, abrasion, chemicals, and oil. It also has a longer working time, which makes it the most DIY-friendly top coat option if you want maximum durability. This is the choice for floors that need to hold up to real use over time.
- RZ Tint — A concentrated pigment added directly to your base coat resin after mixing. The recommended dose is 4 oz per gallon of resin. Always mix the resin fully first, then add the tint. With a full vinyl chip broadcast, the tinted base coat shows through in the joints between chips and along edges — it sets the underlying color tone of the finished floor.
- 1/4″ Vinyl Chips — Applied in a full broadcast at approximately 8 sq ft per pound. Chips are larger and lighter than quartz granules, which gives them a slight flutter as they fall — this makes them easier to distribute evenly and results in a naturally random, non-directional pattern. You broadcast until rejection, then sweep and vacuum the excess after the base coat cures. Vinyl chip floors are one of the most popular DIY garage flooring choices for good reason: they’re forgiving to apply, highly customizable, and deliver excellent durability.
- Essential Epoxy Primer — A thin primer coat applied before the base coat when your concrete is porous or has minimal moisture emission. It seals the air pockets in the concrete that would otherwise cause bubbling in your base coat. With a primer coat, your base coat covers 150 sq ft per gallon on flake floors instead of 100 sq ft per gallon — that’s a 50% improvement in coverage that significantly reduces your material cost on larger projects.
Not every system on this page requires the same level of experience. Here’s a straightforward breakdown to help you match the right system to your situation.
- 1-Day Polyaspartic Systems — Best suited for installers who have handled coatings before or are very well-prepared. Polyaspartic sets up fast — both in the bucket and on the floor — so you need to be ready to move. The payoff is a completed floor in one day with excellent UV and abrasion resistance built in from the start. If this is your first time, take extra time to read the installation guide and plan your sections before you open any containers.
- 2–3 Day Epoxy Systems — The more DIY-friendly option. Epoxy has a shorter pot life but a longer working time on the concrete surface, which means you have more time to spread and correct before it sets. You can comfortably split the work across two to three days while the bonding window stays open. A polyaspartic top coat is applied over the epoxy base to protect against UV yellowing and add abrasion resistance.
- Pro Systems with AU 85 Top Coat — These systems are built for floors that need to perform at the highest level. The AU 85 aliphatic urethane top coat outperforms all other options for UV, abrasion, chemical, and oil resistance, and its longer working time actually makes it easier to apply than polyaspartic as a top coat. You can choose either a polyaspartic or epoxy base coat depending on your timeline and experience level. Adding a primer coat is recommended for most concrete surfaces — on flake floors it takes your base coat coverage from 100 to 150 sq ft/gal, which makes primer a particularly worthwhile investment on larger spaces.
Regardless of which system you choose, surface preparation is the single most important factor in how your floor performs long-term. Grinding the concrete to the right profile — CSP-2 or CSP-3 — and removing all dust before coating is what determines whether the coating bonds and holds for years or fails early. No product on this page can compensate for inadequate prep.
Vinyl chips can be applied at full broadcast or partial broadcast — and this is one of the things that makes flake flooring uniquely flexible as a design choice.
- Full Broadcast — You throw chips until rejection, completely covering the base coat. This is what all the kit builders on this page are configured for. The result is a floor with maximum chip coverage, excellent slip resistance, and the base coat color visible only in the joints and edges. This is the most common approach for garages and high-traffic spaces.
- Partial Broadcast — You stop broadcasting before rejection, leaving portions of the tinted base coat exposed as part of the design. The ratio of chips to exposed base coat is entirely up to you. If you choose this route, note that you’ll need less chip material per square foot, and you’ll want to apply two layers of top coat to fully protect the exposed resin. The kit builders on this page calculate for full broadcast — if you’re planning a partial, use them as an upper-bound estimate and adjust based on your coverage preference.
Either way, plan to order more chips than you think you need. Running short of chips mid-broadcast with wet resin on the floor is a situation you want to avoid. Excess chips store well and are useful for touch-ups.
All coverage numbers shown in the kit builder are planning estimates based on standard installation conditions at 70°F and 50% relative humidity. Your actual coverage will depend on several real-world factors, and it’s always better to order slightly more than you think you need than to run short mid-project.
- Surface profile — A more aggressively ground surface (CSP-3) has more texture and micro-valleys that absorb more material than a lighter profile (CSP-2). The rougher your floor, the more base coat it will take to achieve full coverage.
- Concrete porosity — If your concrete is highly porous — visually resembling foam or swiss cheese after grinding — it will absorb significantly more base coat material. Using a primer coat on porous concrete seals those voids and takes your base coat coverage from 100 sq ft/gal up to 150 sq ft/gal on flake floors.
- Chip broadcast rate — Coverage for vinyl chips is planned at 8 sq ft per pound for full broadcast, but real-world usage varies from roughly 5 to 10 sq ft/lb depending on chip size, how you throw them, and how evenly they land. Larger throws distribute more evenly; smaller, tighter throws can create uneven density. When in doubt, order an extra box.
- Applicator tools — A notched squeegee controls base coat thickness more precisely than a roller alone. Backrolling with a ¼” nap roller after squeegeeing helps redistribute material evenly. Using the wrong tool, or applying material unevenly, can result in thinner coverage in some areas and excess in others.
- Temperature and working conditions — Higher temperatures accelerate the set time of both epoxy and polyaspartic, which affects how much material you can spread from each batch before it becomes unworkable. Working in high heat without adjusting your batch size can lead to waste and uneven application.
When in doubt, order more. Leftover material stores well, and having extra chips on hand for touch-ups after scraping and vacuuming is always useful.