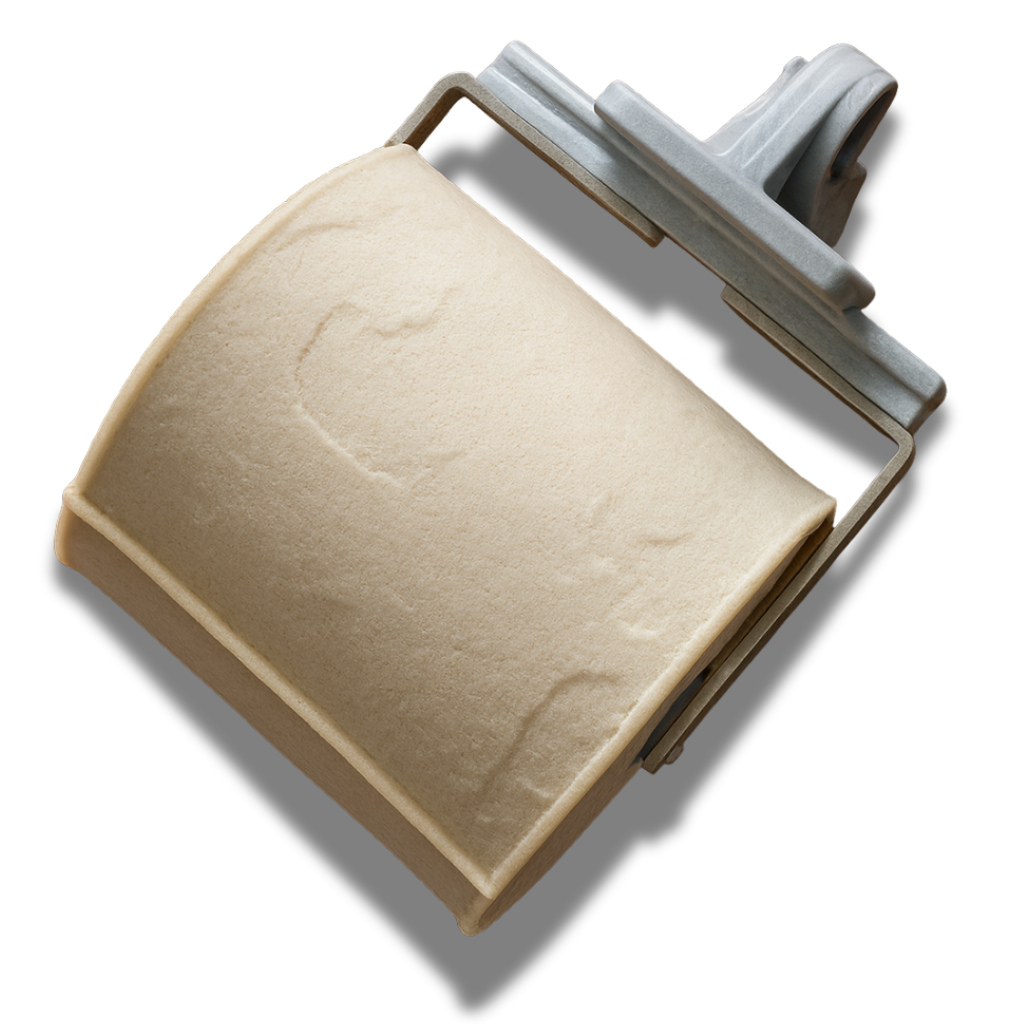
Border stamping rollers from Walttools are the perfect decorative tool to set your work apart from the competition. Borders can add color, texture, and dimension to many types of concrete surfaces. Some common uses include jazzing up an otherwise un-inspiring plain gray slab, providing a more decorative aspect to control joints or pour breaks, or putting the final touch on a stamped masterpiece. Stamped borders really set your work off and walttools stamped border rollers make a tough job far easier. Here is an overview of using a border roller:
 Form pour and place concrete as normal. Bull float and edge normally. If control joints are being placed with a groover, do so as normal. Timing is everything. Rollers are used earlier than stamping. You should be able to press your thumb into the surface far easier than the standard for stamping (anywhere from 15 min to 45 min). The ideal time is when the surface cream allows the roller to partially settle into the surface allowing a clean impression. If when you begin to roll and the roller “slides/skids” instead of rolling, it is too soon. If the grout lines “support” the roller on the surface, it is too hard and you will need to lean much more on the roller, making a steady impression more difficult.
If using a release agent (powder or liquid) of a different color than the rest of the job care should be taken to carefully place release in the border path. One simple method is to cut a heavy napped paint roller cover (or sponge for liquid) to the same width as your stamping roller, coat with release and roll the release along the intended border path. If using the same color release as the remaining job you can apply your release with less discretion. Tru Impressions border rollers have either one or two grout edges depending on the design. Either works for borders. If using a single edge roller, the plain edge is to be placed on the outside along the form where it should have been previously edged thus giving you the second grout line.
 With one hand on the bull float handle and the other on the outer edge of the bracket, carefully begin to roll the impression. A slow steady walking pace keeping a slight but steady pressure on the roller, keeping it aligned along the outer form will produce the best results. When encountering a curve, move the outer hand to the roller itself to aid in manually “rolling/turning” the roller. This method will allow the tool to shape the stones or bricks into the corresponding shapes as though they were cut for the curve. If doing a double row, the same process is followed with the exception of having no form support as a guide. Added rows are recommended only by using a second roller as timing can become critical as the surface hardens. After rolling the border, if the remaining surface is to be stamped certain precautions should be taken to avoid damaging the completed border. Most typically, when working around the border, you will protect your border with a similar texture seamless skin. Carefully place the skin on the border surface under the potential striking area of the floppy. If needed you can gently rest the floppy over the skin, preventing any grout lines or other surface marring as you complete the impression with that mat. Care must be taken not to tamp the stamp on the actual border. Continue this method as you complete the edges of the main stamped surface.
When doing longer runs with the border roller that are not along the edge as would be the case of masking a control joint, you will need to use an appropriate length handle. With a steady hand carefully roll the roller along the groove with the non-grout edge on the groove if that is the roller design. Ssing a long straight-edge as an edge guide is recommended for steadiness when possible. If a metal straight edge is not available to make an “L” brace, 2x4s will work and resist curving. Long internal runs like this need to be done before any outer borders due to the inability to provide as much downward pressure on the border roller.
 Optional matching floppy mats are also very useful when working into sharp corners and up against a vertical obstruction. Touch ups and small corrections are usually com-
pleted with a grout tool and/or touch-up mat.
As with any new decorative concrete tool, it is highly recommended to use on a test slab for practice with various techniques before an actual project. Questions on technical information and roller uses, give us a call!